
7 Vital Steps for Growing Blackberries in Raised Beds: A Complete Guide
Berries are delicious, but they are often pricey at supermarkets. Fortunately, growing berries in your garden aren’t that difficult. You may also learn from this article on growing blackberries in raised beds by following some easy instructions.
Why Do Berries Grow on Raised Beds?
Compared to other plants, berries often have little roots. Sadly, this means that they frequently have to compete with weeds and grasses to acquire the nutrients and water they require. Many berry bushes have sharp thorns to encourage you to keep away, but if you do, you won’t be able to adequately weed the area, which will harm the berries. A raised bed separates the plant from the weeds and makes it much easier to monitor.
Soil and Sun Require
Blackberries require full light, well-drained soil, and a pH between 6.0 and 7.0. They prefer rich soil, so add plenty of well-aged compost.
Step 1: Create Your Raised Beds

The type of blackberries you intend to cultivate will have a significant impact on the size of your raised beds. This is why you should consider any space needs based on the type you are using. For instance, a spacing of 6 to 8 feet per row is required for trailing blackberries.
In addition, there should be 8 to 10 feet between each row. But, if you only want to grow a single blackberry plant, a raised bed measuring 3 x 12 feet should be enough. If you don’t have a lot of space you can plant trailing blackberries in raised beds that are 2 feet by 2 feet. After that, cover the top of your raised bed with a layer of pine needles or straw. This should make it easier to control moisture levels and guarantee good soil drainage.
Step 2: Use the Right Dirt

Once you have the right-sized bed and are prepared to begin, you must till the soil, place the raised bed, and then add extra soil. The type of soil your plant needs is therefore the first item to consider.
For instance, blackberries need acidic soil and readily available nutrients to grow without fertilizer burning their roots. To grow a blackberry, you should purchase some gardening mix from a nearby nursery. This will increase the soil’s acidity and allow the nutrients to naturally occur in the soil.
keeping the blackberry content healthy with the least amount of work. Mix your soil mixtures and mixes thoroughly before placing them in your raised garden bed, keeping the same soil at least 3 inches below the bed’s level.
Step 3: Drainage And Watering The Raised Beds
Finally, you are nearly ready to plant! Water should be poured over the newly packed soil and allowed to drain. This is to test your new bed’s drainage and help firm the soil up. Flood it again after it’s entirely drained and time how long it took to drain completely.
If your berry plant doesn’t have adequate drainage, consider adding perlite or another drainage-improving additive to your soil. If you’re ready, go ahead and plant your berry! Keep it well-watered and wait for the results of your work!
Step 4: blackberry Spacing In Raised Beds
When growing blackberries in raised beds, leave 3 to 4 feet between plants for semi-trailing varieties and 6 to 8 feet between plants for trailing varieties. Planting blackberries in the fall, winter, or spring is possible. Avoid late spring and summer plantings to prevent stress caused by warm weather.
Blackberries are typically acquired as containerized plants, although they can also be obtained as bare-root plants. Put containerized plants at the same depth as they are in the container in a prepared bed. Dig a hole big enough for the roots to spread out when planting bare-root plants. Soil should surround the roots. Water the new plantings well.
Step 5: Pruning
Blackberry bushes can grow to be 3 to 4 feet tall and wide. The plant’s top is biannual but its roots are perennial, so a branch that emerges this spring won’t bear fruit until next year when it will wither and die. To get the most berries, you must properly prune the shrub. When blackberries are grown in raised beds, pruning will also protect the berry from becoming larger and from becoming thicket.
Primocanes are the canes that appear this year. Floricanes are canes that sprouted last year and will blossom and bear fruit this year. The floricanes die after fruiting, while the primocanes begin growing buds to fruit the following year. Primocanes have a potential height of 8 to 10 feet. After allowing them to reach their full height, prune them to a height of 3 to 4 feet. The lateral growth that pruning promotes will eventually support berries. Blackberry branches are referred to as canes in a blackberry bush.
To prune a blackberry bush correctly, avoid pruning any new growth in the first year. The canes from the second year will start to be pruned. Throughout the winter, when the plant is dormant, prune back the lateral growth and take some of the buds out that will eventually bear flowers and fruit. An average of six to eight berries can be found in each cluster produced by a single blossom.
Depending on the branch’s strength, leave 6 to 12 buds on the branches. The quality of the remaining fruit is enhanced and the plant is kept under control through pruning. After the floricanes have fruited and died, remove them. This makes room in the plant for new canes to grow next year and keeps the bush smaller overall.
Step 6: Rate of Blackberry Growth
Your seeds need to be started indoors for about a year before they are prepared for transplanting outside. Your blackberry bushes will grow after being planted in the raised bed. In the first year, they will produce foliage, and in the second year, fruiting floricanes. At this stage, you may enjoy the blackberry season in the early summer, with summer varieties giving fruit in the late summer.
Step 7: Harvesting and Storing

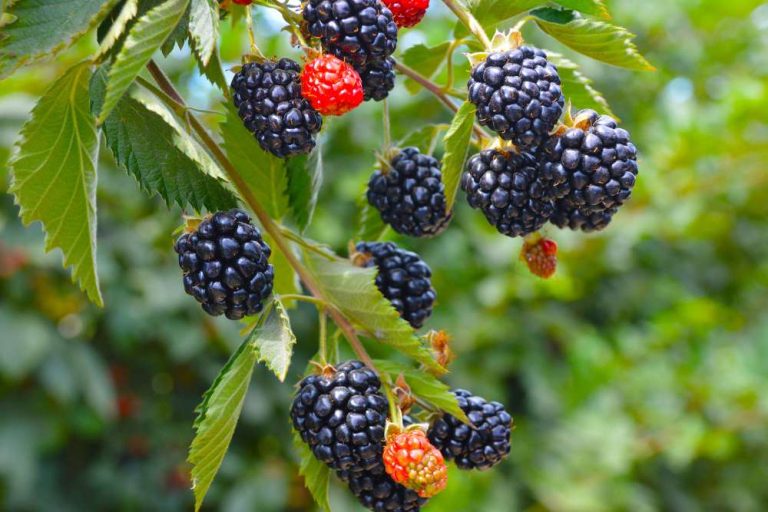
Berries should be picked when they are firm, totally black, and plump. They must be simple to remove from the plant. While the berries are ripening, please pick them up every other day. As soon as they are plucked, blackberries must be stored in a refrigerator or another cool environment. They have a short shelf life. In the fridge, they will only keep for 5-7 days.
It’s a good idea to have a strategy for what you’ll do with your blackberry crop because, once plants begin to produce, you’ll be overrun with the delicious fruit for a few weeks. Breakfast with blackberries is delicious.
You can add toppings to porridge, pancakes, or crepes. Although they are delicious in sweets, you may get inventive and include them in seafood meals. Moreover, blackberries can be canned, frozen, and turned into jam. You’ll be able to continue to enjoy them all through the chilly winter.

Lilani graduated with a bachelor of agriculture, with a specialization in biotechnology from the Wayamba University of Sri Lanka, as well as she is following a Master’s in Molecular Life Sciences. She has a passion for writing and communicating about agriculture topics and loves enthusing people about the botanical world.
- Outdoor Deck Decorating Ideas That Turn Any Backyard Into a Stunning Retreat - June 30, 2026
- 29 Bucket Gardening Ideas for a Lush, Compact Garden - October 30, 2024
- 20+ Chic Boho Bedroom Ideas for a Cozy and Stylish Retreat - June 20, 2024