
How to Make a Kokedama: A Step-by-Step Guide for Creating Your Own Living Art
Japan is the country of origin for bonsai, and it is an old, method of gardening. In bonsai a plant is grown so compact and tightly, then when it is removed from its shallow base, the plant holds its well-grown roots and soil-forming a compact ball.
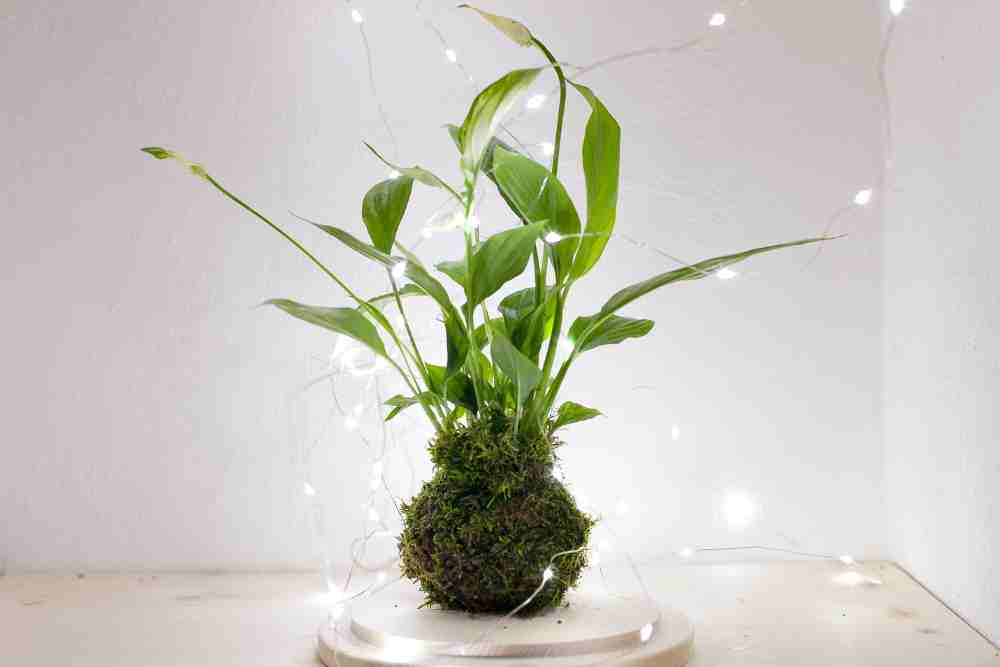
Kokedama is a style of Japanese Bonsai where you take the plant instead of putting it in a pot. In kokedama ‘koke’ means moss and ‘dama’ means ball where a plant’s root system is simply wrapped in sphagnum moss and bound with string, transforming it into a sculptural art form. It’s an easy alternative to bonsai.
Like most plants, a kokedama also needs some light to thrive but not too much, and the amount of light needed for the kokedama depends on the type of plant. Kokedama plants are more likely to dry out if sitting indirect light since the plant is moss-based.
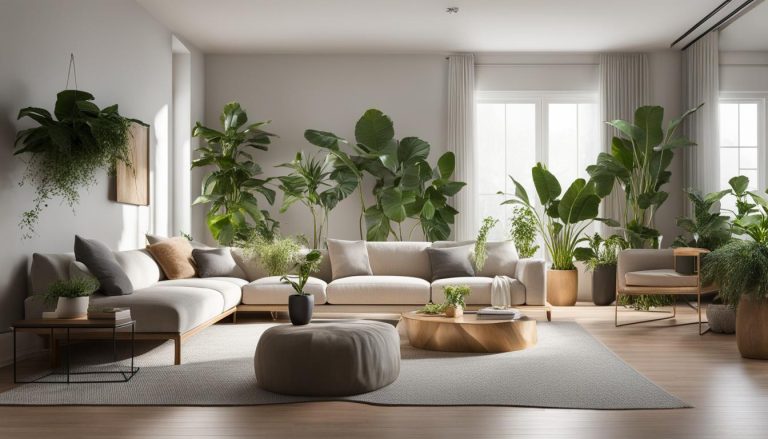
You can display them on a plate or a dish somewhere, or you can hang them in the bathroom, above a kitchen island, or as a centerpiece on a dining room table. For outdoor spaces, hang kokedama from a pergola, balcony, porch, or other desired shady area.
It is important to avoid spots with hot or cold drafts. Because blasts of hot or cold air can make leaves turn yellow or brown prematurely, especially on more tender plants like ferns. Most houseplants appreciate a spot with average to high relative humidity, as well.
If the tips of the plant’s leaves start browning it’s a sign that your plant needs watering and also if your plant needs water it can be determined by the feeling of how heavy it is. When the ball feels light, there’s a good chance it needs to be watered. Cut off any brown parts of the plant to keep the brown from spreading. When you are watering the plant, soak the ball in a bowl of room-temperature water for about 10 minutes.
Then transfer the ball to a colander for a few minutes to drain any excess water. When the ball doesn’t drip anymore, it’s ready to hang again. Yellowing leaves and the presence of mold indicate that your plant is being overwatered.
Suggested Plants
- Spider plants
- Asparagus ferns
- Hypoestes
- Coleus
- Philodendrons
- Begonias
- Other tough houseplants
Materials
- A small plant
- Bonsai soil, Peat moss
- Clay and water
- Sheet moss
- Twine
How To Make A Kokedama
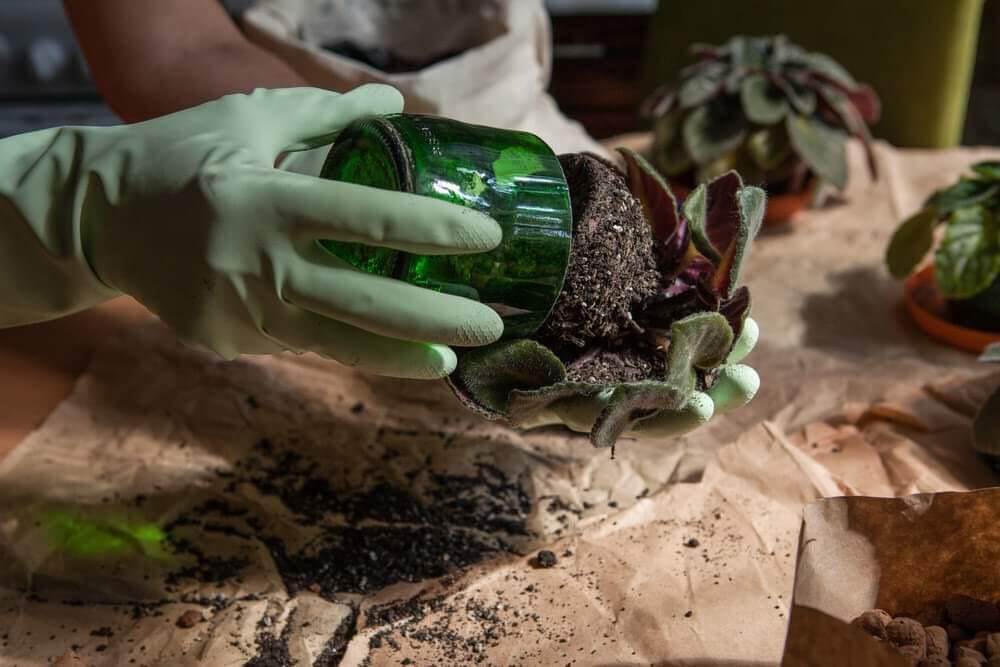
Remove the pant from the pot and tease the roots apart, shaking off the soil. Use a hose to wash the roots off. Thick-rooted plants can tolerate having all the soil removed; thin, fibrous-rooted plants may fare better if a little soil remains. Try to get the root ball as small as possible.
In a bucket or bowl, mix bonsai soil, and peat moss in equal parts. Mix until everything is incorporated and there are no lumps or clods. Slowly add water and clay, mixing well with your hands between each addition, until the soil mixture is a thick paste.
Test by forming a baseball-sized ball working it smoothly. A little loose water should appear on the surface as you squeeze it, and when dropped back into the soil bucket from a few feet, the ball should remain intact. If the ball flattens, add a little more soil. If the ball breaks, add a bit more water.

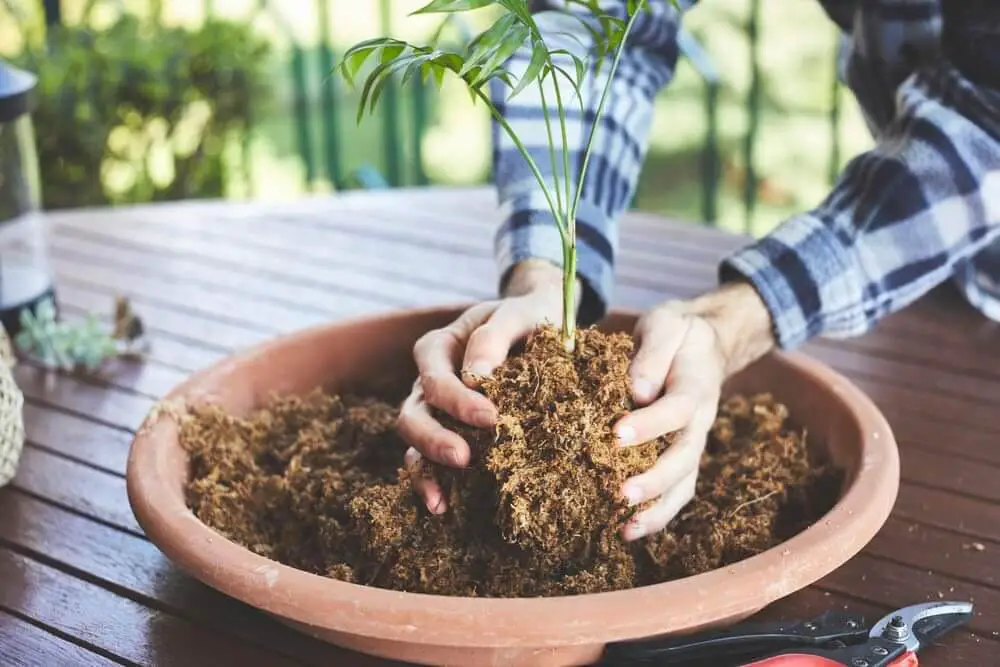
Take a handful of moist sphagnum moss, squeeze out excess water, and then encase your plant’s root ball with a layer of sphagnum moss. Wrap moss with the natural string or twine. Set the plant aside.
Stir your peat moss mixture. Then create a ball slightly bigger than a sphagnum-covered rootball by using your hands. The amount of soil you need will depend on the size of your plant. Squeeze the peat moss ball to release the dripping moisture.
Twist the peat moss ball to create two halves. Then press the sphagnum-covered root ball into one half. Put the other half of the ball over the root ball. Try to pat and squeeze together to reform a ball. If necessary, add some additional mixture to the ball. Squeeze to release any dripping moisture.
Other than twisting you can form a ball here and form a root-sized hole in it with your fingers. It would be best if you ended up with about an inch of the mixture all around the roots except at the top left uncovered. Keep the soil ball top even with the original soil level of the plant. Keep the ball as round as possible.
Lay your sheet moss out on your working surface. If you have one large sheet of moss, it is good. Otherwise piece together smaller sections, trying to use a single piece for the centre/bottom. D wrap it around the plant-containing soil ball. Gently press it onto the ball. Cover all the soil except where the plant stems come out of the ball.
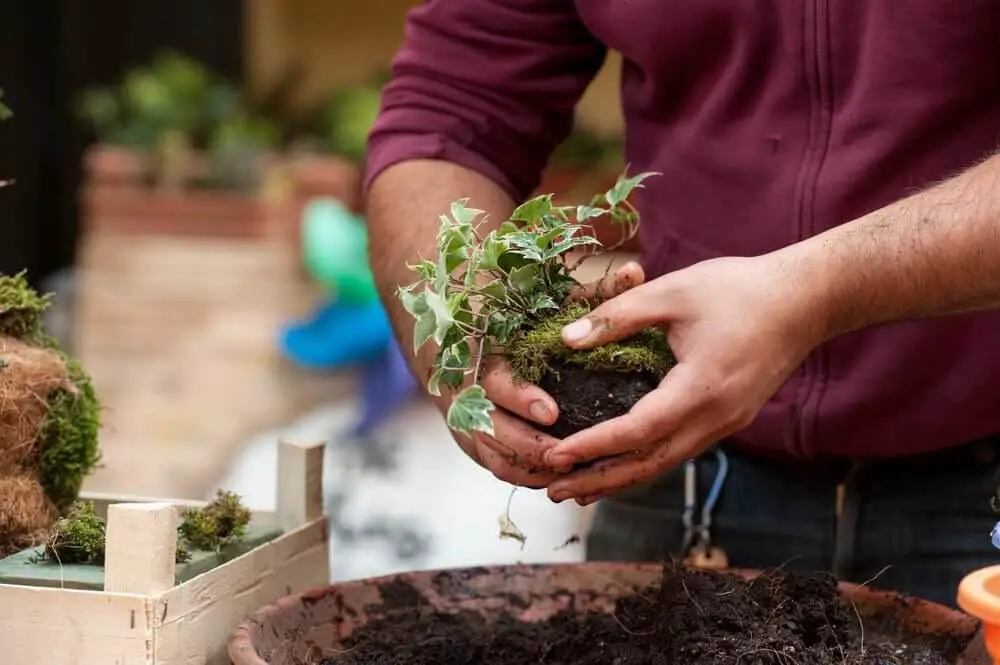
Tie the twine around the moss-covered ball. Wrap the longer end of the twine around & around the moss-covered ball to secure the moss, pulling tight as desired to help shape the ball. When you’re satisfied the moss is secure, tie off the loose end to a crossing-wrapped piece. Tie off near the top if you want to suspend your kokedama by the string, or you can tie a new hanger string on.
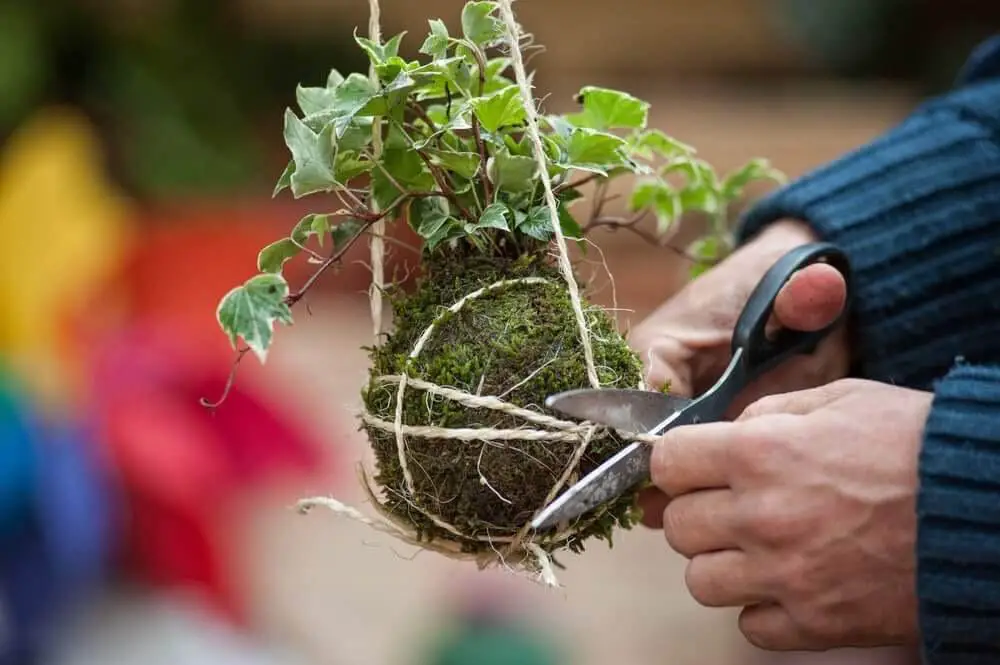
Hang by a single string tied near the top, or make a simple hanger by tying three pieces of string together at the top and bottom. Simply rest the ball in the sling. To water, simply set the soil ball in a pan or bowl of water for a few minutes. Water will soak the whole soil ball even if it’s only a few inches deep. To fertilize, soak in a weak mixture of fertilizer every few weeks, preferably organic.


Lilani graduated with a bachelor of agriculture, with a specialization in biotechnology from the Wayamba University of Sri Lanka, as well as she is following a Master’s in Molecular Life Sciences. She has a passion for writing and communicating about agriculture topics and loves enthusing people about the botanical world.
- Outdoor Deck Decorating Ideas That Turn Any Backyard Into a Stunning Retreat - June 30, 2026
- 29 Bucket Gardening Ideas for a Lush, Compact Garden - October 30, 2024
- 20+ Chic Boho Bedroom Ideas for a Cozy and Stylish Retreat - June 20, 2024
thank you for doing well. i get many advantage about agriculture.
my email: [email protected].