Low Cost Hydroponic Systems: A Beginner’s Guide to Affordable Indoor Gardening
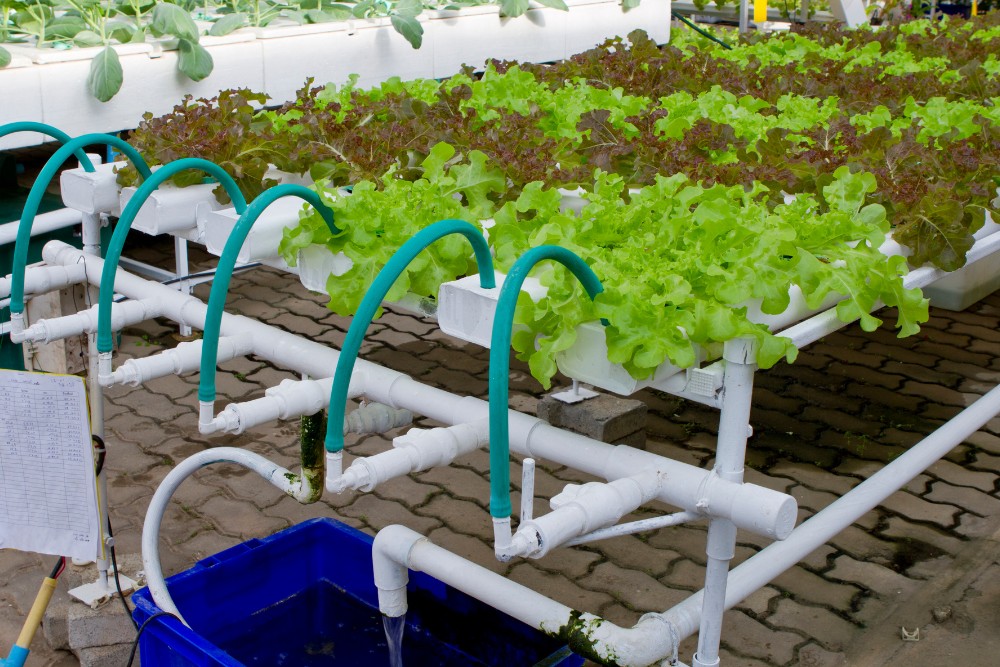
In hydroponic gardens, the root systems of the plants are bathed in nutrient-rich solution. You may grow vegetables, flowers, and herbs indoors or outdoors with a hydroponic garden. Since no soil is needed and weed and pest control are easier to manage than in soil-based gardens, upkeep is kept to a minimum.
Would you like to create your low cost hydroponic system using recycled items from your house? Growing vegetables,herbs and fruits hydroponically at home has numerous advantages: having a consistent supply of fresh, nutritious vegetables will undoubtedly save you from making multiple visits to the supermarket!
A hydroponic system can offer you and your family year-round food without requiring a large investment. Consider a deep-water culture system (DWC) if you’re on a tight budget. Plants thrive in this arrangement, with their roots directly submerged in nutrient-rich water. Begin with one container and gradually increase the number as your money allows.
Home growers can use big, opaque storage containers or buckets. Commercial producers employ rafts that float on a sizable body of water; these rafts function like conveyor belts, moving immature plants from one side to the other until they are ready for harvest. Even if you have to purchase everything, this is still a low cost method, and if you are resourceful, you may start for almost nothing.
How To Make A Low Cost Hydroponic System At Home
Find a Suitable Container For The System
For these systems, deeper buckets and storage containers are desirable since the stability of the nutrient solution increases with reservoir depth. In smaller reservoirs, fluctuations in nutrient concentration and pH are more prevalent; you will also need to top up the water more frequently.
A basic hydroponic system container must not be sophisticated, expensive, or even a specific size. Utilizing recyclable materials to hold your plants is one way to reduce the cost of setting up your hydroponics system. Fish shipping foam containers, a kid’s wading pool, an old ice chest, or a plain plastic bucket all function well.
Fish Shipping Foam Containers
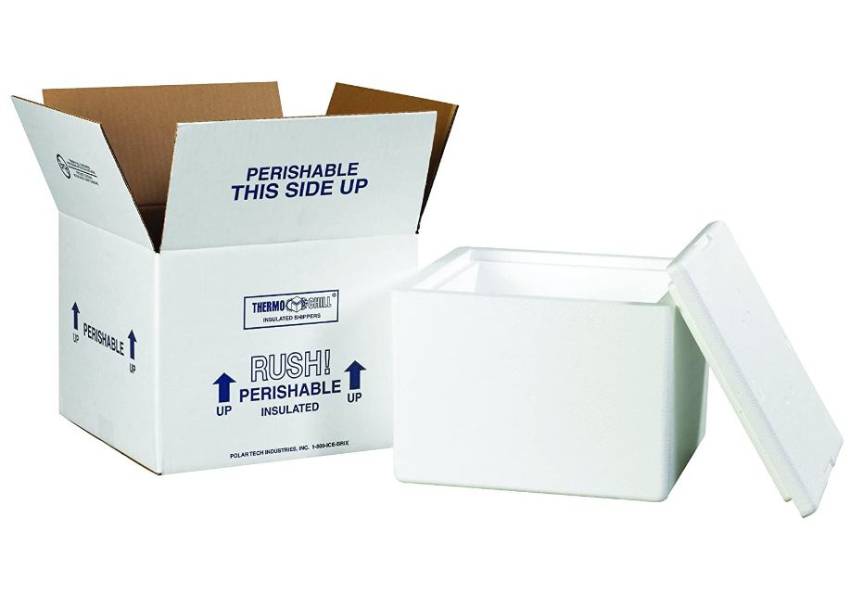
When selecting a container, ensure it does not leak and does not contain anything harmful, such as weed killer or paint, as these can taint or kill your plants.
Plastic storage containers, such as those seen at most cheap stores, are affordable and widely available. These have the advantage of being available in various sizes, allowing you to
select the one that best meets your demands and available space.
Purchase the opaque ones to prevent algae growth, as algae can clog your system and deprive your plants of essential nutrients. Five-gallon buckets are also widely available and suitable for larger plants like tomatoes and eggplant.
Drill Holes In The Lid Of The Container
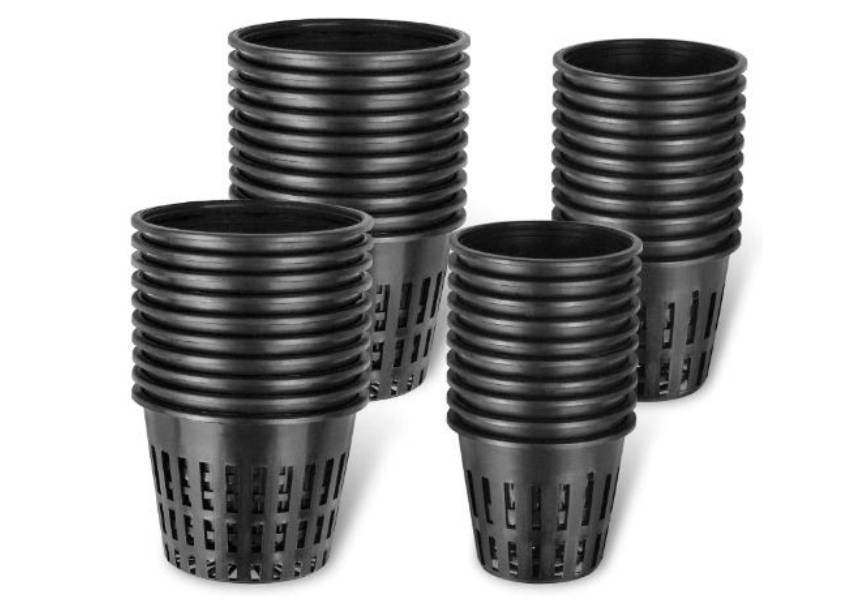
The plants will be grown in net pots, which are pots with several openings for the roots to grow through. The net pots you use must be larger than the hole to avoid falling through. The next step is to drill holes into the container’s lid where the net pots will be placed. The only specialized instrument required for this design is a hole saw, which is inexpensive and simple to use.
Net pots are widely available, cheap, and reusable. To save even more money, drill several holes in plastic food-grade containers and use them to store your plants in the hydroponic system. Plants in hydroponic systems require some support to stay in place.
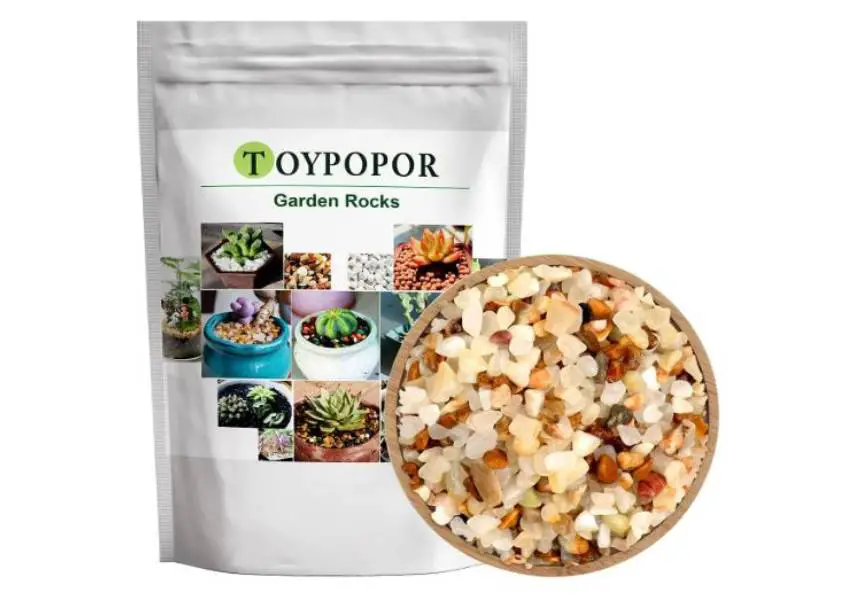
Use sterilized pea gravel or coconut coir, which are affordable, to keep plants erect in net pots. These materials are also reusable after sterilization, making them even more cost-effective.
Pea Gravel
Net Pots
Fill The Reservoir And Assemble The System
After that, add your hydroponic nutrients to the water as directed on the bottle. Because hydroponic plants cannot send their roots into the soil to get the required nutrients, they depend entirely on the nutrients you provide. Hydroponics suppliers offer a wide selection of nutrients, some specialized and others not.
These can add up quickly and aren’t required for a simple hydroponic setup. Create your own nutrient solution by mixing one teaspoon of Epsom salts and two tablespoons of water-soluble fertilizer per gallon of water. Pour it in after stirring until the particles are dissolved.
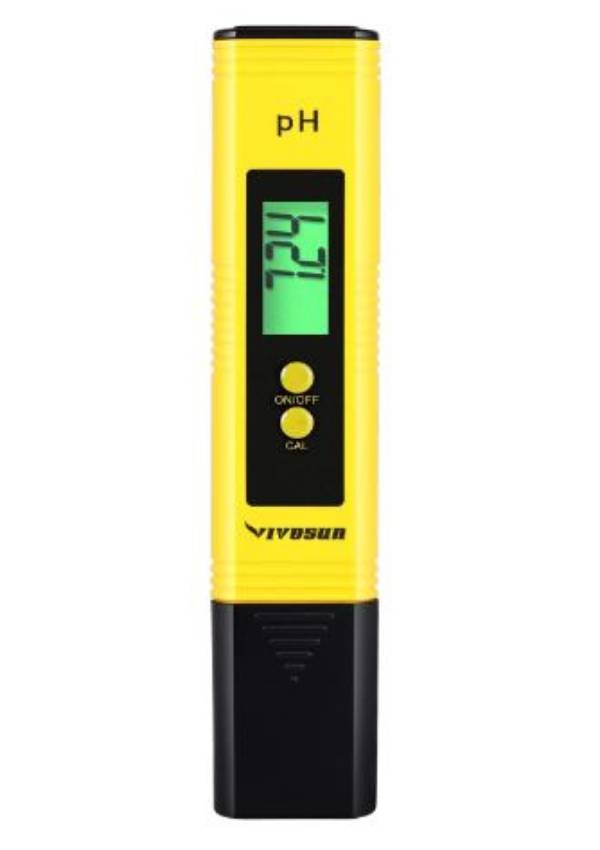
After adding fertilizers, use a pH meter to adjust the pH. A somewhat acidic nutrition solution is required for most vegetables and herbs. With a pipette and drops of phosphoric acid (commercially supplied as ‘pH Down’ for hydroponic usage), you can lower the pH to 5.5-6.5. When working with pH down, use gloves and thoroughly mix the solution after application.
Digital PH Meter
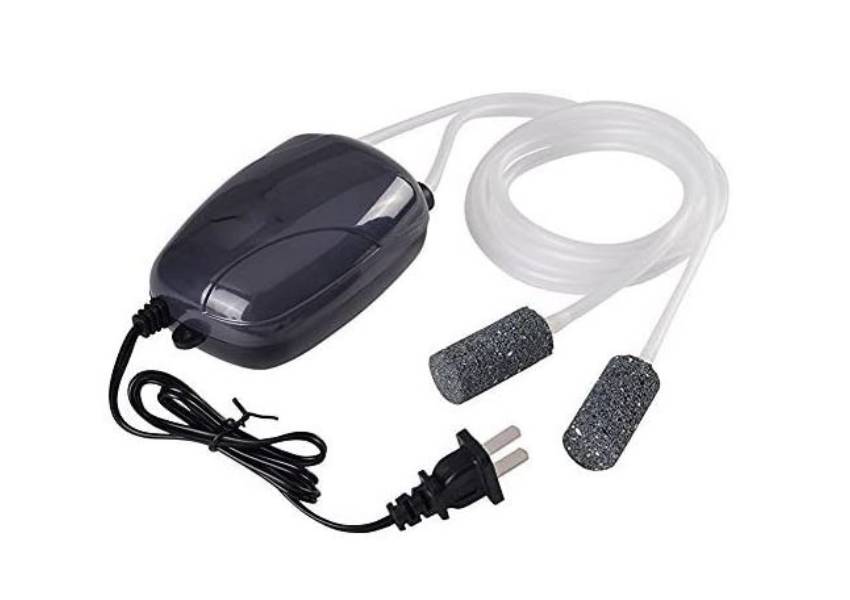
Assemble Your Air Pump
The air pump must not be placed inside the reservoir. It will have a check valve, which makes sure that if the pump is turned off, water won’t be sucked back up. It would be best if you kept the pump above the water’s surface unless it comes with one.
Connect the air stone and check valve with a length of tubing so the arrow on the check valve faces the air stone. Then, in the same manner, attach the check valve to the air pump. When fully loaded, the system can be pretty heavy, so be sure to choose a location for your container before filling it! Nearly fill it with water, leaving 1-2 cm at the top.
When you start planting, the bottom of the container and substrate should be in contact with the nutritional solution. As your plants’ roots expand and take up more water, the water level in a deep water culture system will fall. This is critical for plant health; as the roots expand, they should not be completely buried in water.
Instead, just about half of the root biomass should come into contact with water. Depending on how many plants you have, how quickly they are growing, and how much water they are taking will determine how frequently you need to supply water. Try to maintain a sufficient water level in your system so that around 50% of the roots are immersed.
Compact Air Pump Quiet Oxygen Aerator Pump with Air Stone Airline
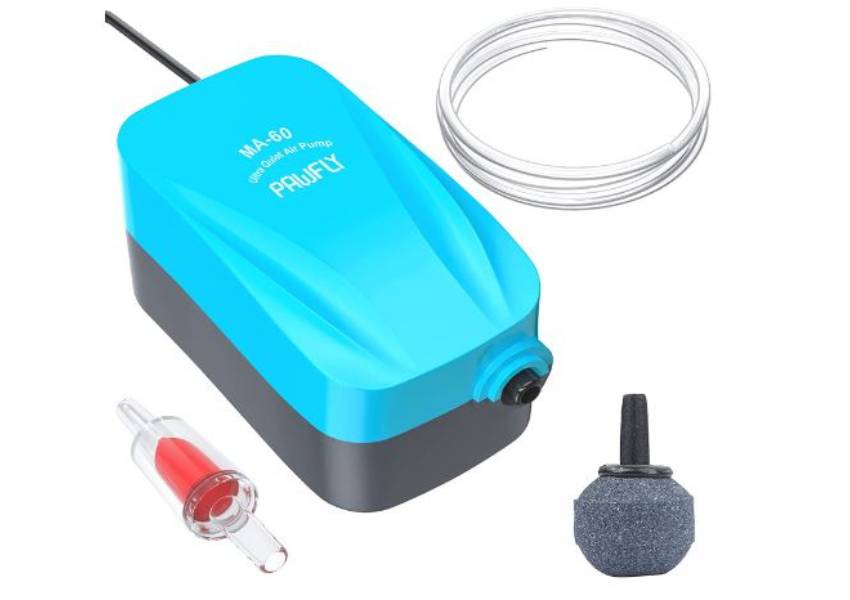
2 Air Bubble Disk Stone Hydroponic Oxygen with 2M Silicone Tube
Light
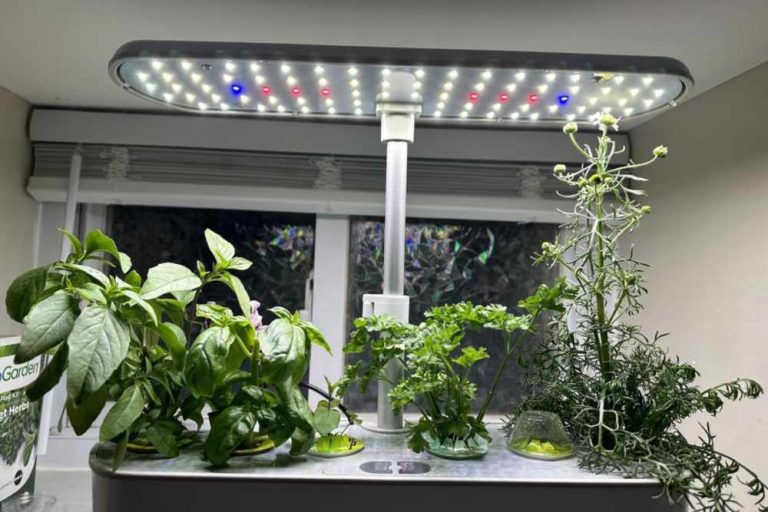
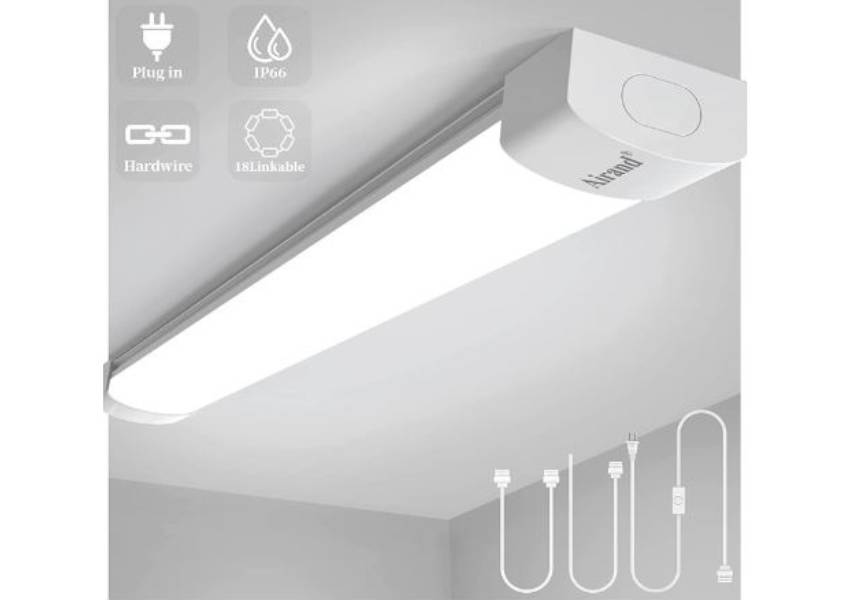
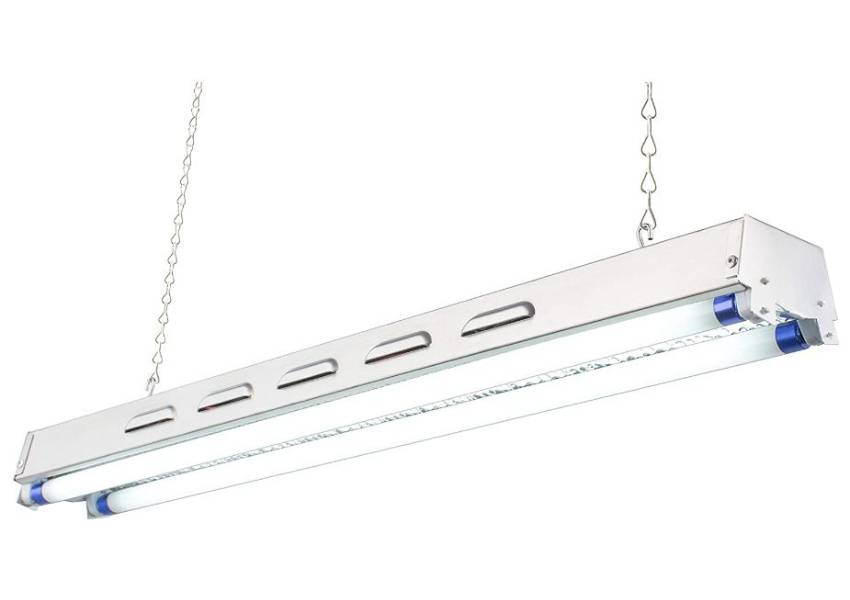
Put your hydroponic system outside and make use of the sunlight for the most affordable way to produce. If that doesn’t work, bring your plants inside and put a four-foot fluorescent shop lamp a few inches over them. Increase the distance between the light and the plants as they grow.
Shop lights are affordable to purchase, keep up, and use. All types of greens can be developed under them with sufficient lighting, but if you want to produce anything that blooms or bears fruit, you’ll need to invest in a fluorescent grow lamp.
Flushmount LED Tube Ligh 18W
Fluorescent Lamps
- 29 Bucket Gardening Ideas for a Lush, Compact Garden - October 30, 2024
- 20+ Chic Boho Bedroom Ideas for a Cozy and Stylish Retreat - June 20, 2024
- 12+ Modern Boho Living Room Ideas to Create a Unique Oasis - June 10, 2024

