Using a Humidity Tray for Indoor Plants- Ultimate Guide
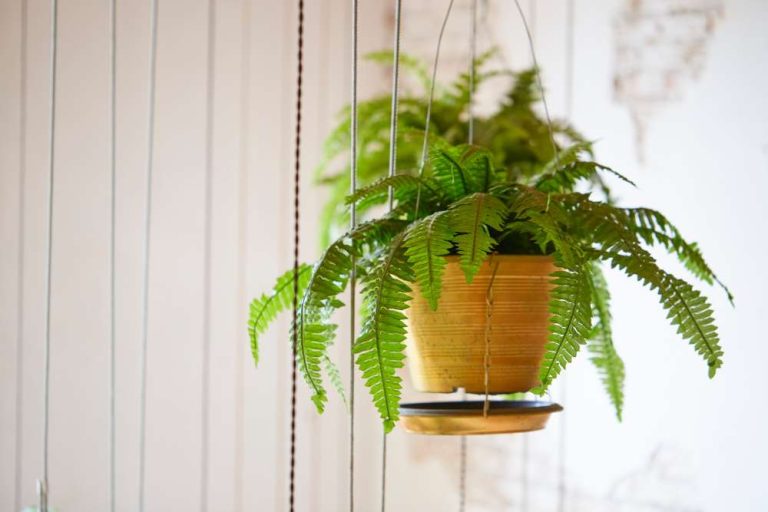
Humidity is frequently an important factor in indoor plant maintenance. There are various suggested methods to boost humidity, which is beneficial for indoor plants. Ferns, orchids, maranta, calathea, bromeliads, alocasia, colocasia, caladium, dieffenbachia, monstera, spathiphyllum, philodendron, pothos, tillandsia, ctenanthe, carnivores, begonias, anthurium, and most palms are typical houseplants that benefit from high humidity levels.
You can boost humidity by using a humidifier or mister, misting plants, placing a dish of water on your radiator, or making a pebble tray (humidity tray). Get a larger humidifier for large rooms and a smaller humidifier for small areas so that the humidifier is the right size for the space.
To prevent huge water droplets from sticking on your young leaves for an extended period, misters should have a thin spray. The next time you take a shower, you might consider bringing your plants along for a field trip to your bathroom so they can enjoy the steam! Humidity tray for indoor plants have long been used and are still recommended. But do they actually function? Do they increase humidity and are they beneficial for houseplants?
Best Humidity For Indoor Plants
There is no such thing as “best humidity” because it depends on the native plant’s origin. A plant from the Central American jungle requires significantly different growing circumstances than a cactus that lives in a desert.
Humidity levels in the tropics can exceed 80%. Many of these plants will thrive in temperatures ranging from 70 to 80%, but this is too hot for most heated homes in winter. Most common tropical houseplants can survive with a humidity level of about 50%. Plants begin to struggle when humidity levels fall below this.
Plants absorb water through their roots. This water percolates up the stem and into the leaves before evaporating into the atmosphere. More water applied to the plant’s roots can make up for low humidity levels, but there are limits to how far each plant can tolerate this.
Under 40% humidity, tropical indoor plants will suffer. Plants that experience low humidity dry out more quickly, have leaves with less gloss, and are more likely to experience spider mite issues. Homes heated in the winter often have between 10% and 20% humidity. However, this does greatly rely on the local environment.
Unfortunately, the signs of low humidity are sometimes mistaken for underwatering or excessive light, as shown by the dry, crispy tips and margins of the leaves or the gradual curling inward of the leaves. But if you’re providing the plant with the right amount of water and it’s still exhibiting these signs, your plant probably prefers a humid atmosphere.
What is a Pebble Tray?
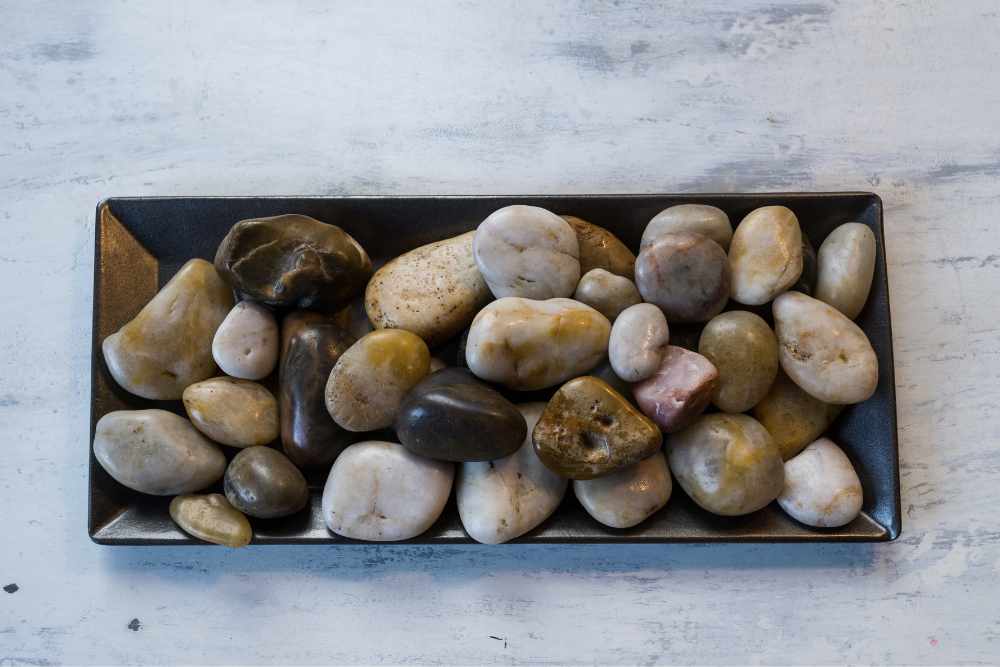
Exactly as its name implies, a pebble tray is filled with pebbles. Of course, there is water within as well. The primary function of a pebble tray is to create humidity for plants, usually indoor plants.
Most houseplants are tropical, but most homes have dry, conditioned air. A pebble tray is an easy, low-tech solution to give those plants a better, more humid habitat nearby. A pebble tray can benefit certain indoor plants, such as orchids. You won’t need to spend as much time spraying these thirsty plants once you have a tray in place.
If you only strategically place pebble trays throughout your home, you won’t need to purchase a humidifier or adjust the humidity level.
The stone supports the plant in the tray and receives moisture from the water therein. A humidity tray for plants also has a drainage area. You can put them underneath plant pots or close to plants. When you water your plant, the surplus water drains into the tray, keeping the floor and other surfaces clean.
This effect might also be achieved by placing a glass of water next to the plant, but pebbly trays are far more appealing. The pots with holes can also be set on top of humidity trays. Ensure the pot is not in contact with any water (unless you have a plant that enjoys sitting in water).
How To Create Your Pebble Tray
Making your pebble tray is also incredibly simple and only needs to be done in a few simple steps.
1. Select A Tray
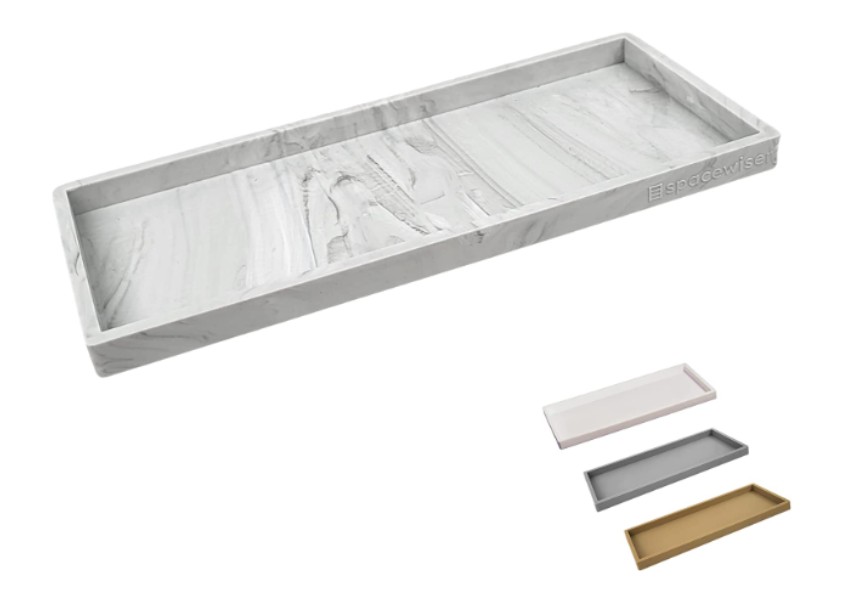
Use what you already have to create inexpensive pebble trays! Your pebble tray can be made out of any saucer or shallow tray. One simple solution is to use a large clay plant saucer.
There are a ton of lovely trays available online as well for those seeking more aesthetic options. Choose a container that is at least a few inches wider and at least one to two inches deeper than the diameter of your plant pot. To avoid damaging any surfaces your pebble tray is placed on, you should also choose a material that won’t leak.
2. Place Your Stones In Place
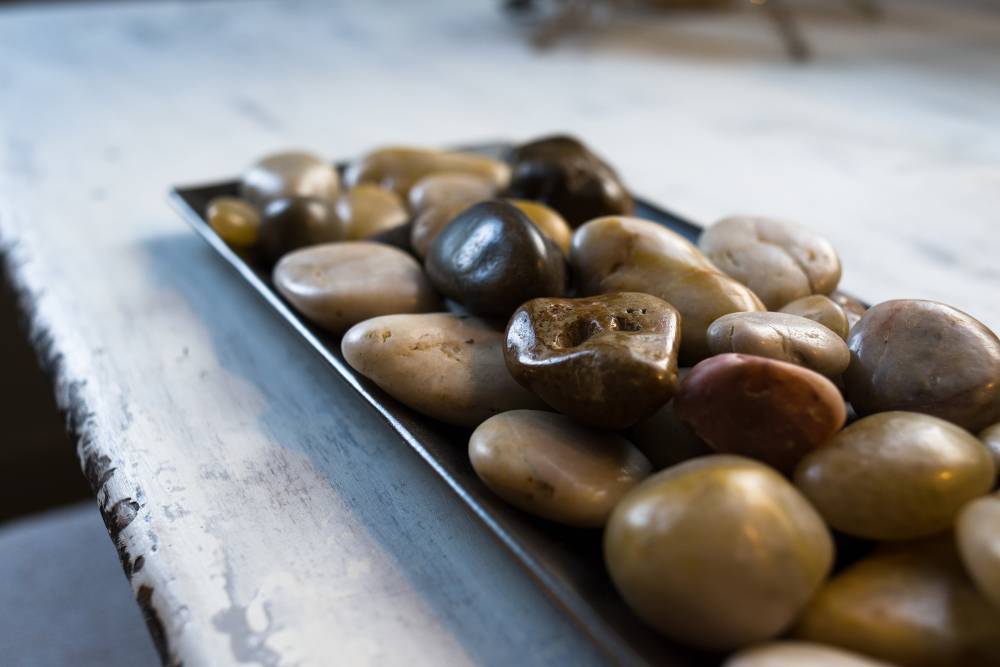
You can get creative and add items like sea glass or glass beads to your pebble tray or save money by using the pebbles you find outside.
Then, you should add pebbles to your pebble tray. You can buy more colorful or attractive options or use gravel or pebbles you find outside. If you decide to go on your pebble quest in nature, aim for stones that are roughly the same size and compact enough to fit into your tray easily.
To avoid unintentionally tracking dirt into your indoor plant arrangement, make sure to thoroughly rinse your pebbles before using them. Pea gravel, bonsai gravel, glass gems, glass marbles, polished river rocks, and aquarium gravel are a few examples of items that may be purchased from stores.
3. Pour The Water
Add water. To keep your plants moist, you have a pebble tray. It’s time to add water after you’ve put your pebble tray together! Your pebble tray works just well with tap water.
Pour water into the tray until it reaches a level just below the pebbles’ top. If you raise it any further, your plant can be submerged in water, which could lead to wet soil and root rot.
4. Set Up Your plant
Pebble trays can serve both functional and aesthetic purposes. Place your plant pot on top of the stones after adding the water so that the bottom of the pot is barely elevated above the water line. You obviously don’t want your pot to be completely submerged in water, so if your tray has too much water in it, carefully pour some of it off.
5. Keeping Your Tray Clean
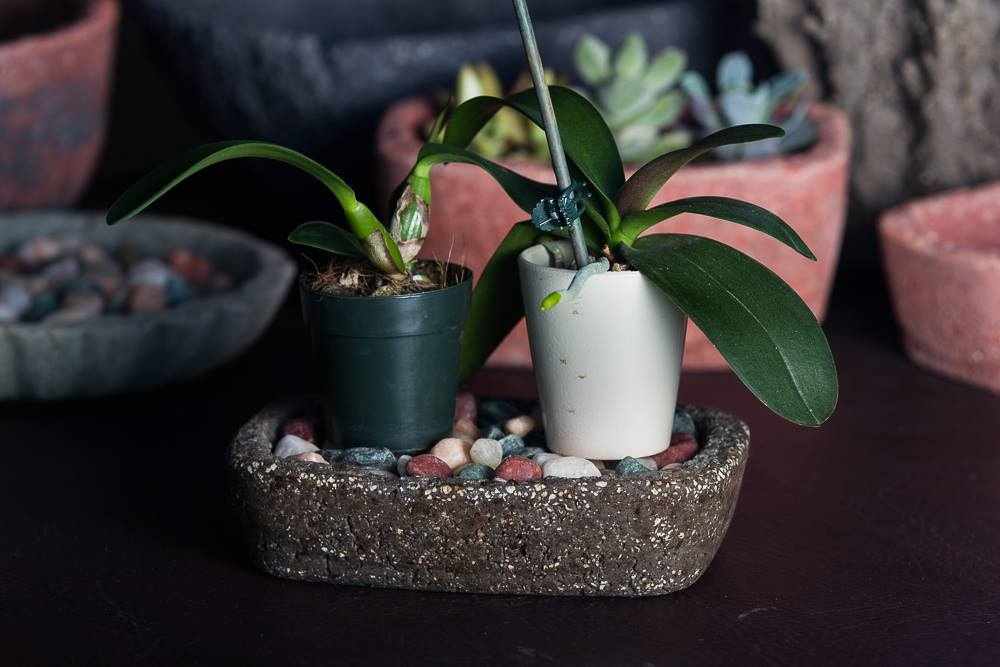
Your pebble tray requires very little maintenance and requires little upkeep. Replace the water that evaporates as it happens, which could be as frequently as once per day or as rarely as once per few weeks. Throughout the year, humidity levels change, so regularly check your pebble tray to notice when it needs replenishing.
Rinse off your tray and stones as necessary. In addition to removing any dirt that unintentionally leaks out of your plant pot during watering will also prevent the growth of ugly mineral deposits or algae in your pebble tray.
- 29 Bucket Gardening Ideas for a Lush, Compact Garden - October 30, 2024
- 20+ Chic Boho Bedroom Ideas for a Cozy and Stylish Retreat - June 20, 2024
- 12+ Modern Boho Living Room Ideas to Create a Unique Oasis - June 10, 2024

