8 Tips For Growing Corn In Raised Beds: A Comprehensive
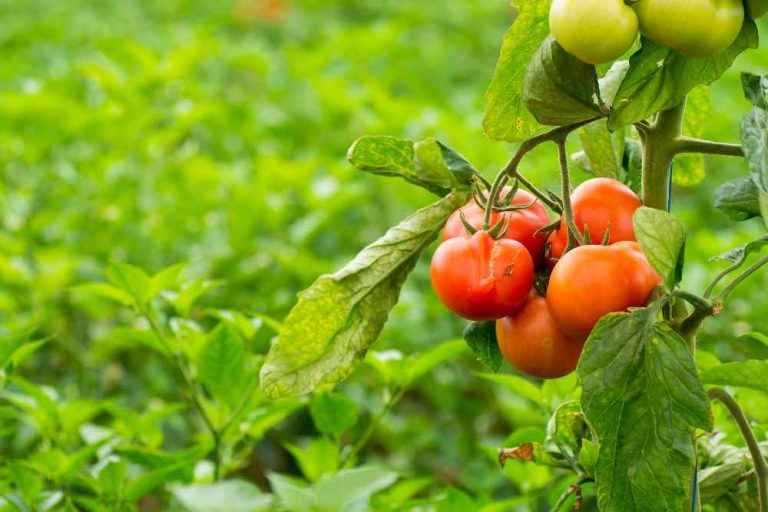
Corn grows in loamy, well-drained soil that receives 6 to 8 hours of direct sunlight every day. The pH of the soil should be between 6.0 and 7.0, which is somewhat acidic. When the pH is in the proper range, the plants can better absorb nutrients from the soil. A soil test will show the pH level of your soil. Growing corn in raised beds will give you a better corn yield.
What Is a Raised Bed, and Why Should You Grow Corn in a Raised Bed?
A raised bed is a planting space raised above the surrounding soil. Raised beds can be made of wood, stone, or concrete blocks. Here is our article on Raised bed gardening for beginners. Growing corn in a raised bed provides numerous benefits, including:
- Warmer soil: Because corn is a warm-season crop, the elevation of a raised bed can also make the soil warmer.
- Better drainage: Because raised beds are elevated, water drains more quickly from the soil, perhaps improving plant growth.
- Weed control is easier: Weeds are easier to control in a raised bed since they are less likely to invade from the sides.
You can plant your corn in rows, square feet, or a triangular arrangement, depending on the size and shape of your bed.
1. Planting Corn In Rows
This is the technique we always apply, and it is perfect if you intend to harvest a large amount of corn. The concept is similar to planting corn on a field but on a smaller and more compact size. Simply plant the corn in rows that are 12-18 inches apart. The maize seeds should be spaced according to the instructions on the seed packet. You can decide to plant your corn in rows, square feet, or in a triangle layout, depending on the size and form of your bed.
2. Planting Corn On Square Feet
This technique is ideal if you have a small bed or will just utilize a section of it for corn. You’ll measure out a square foot of your raised bed and plant a seed in each of the four corners using the square foot method. If you want more than four plants, repeat this procedure with extra squares.
3. Planting Corn In Triangular Rows
If you have a large, rectangular bed, you can plant corn in a triangular arrangement. With well-spaced rows of two to three plants each, this technique leaves a little more than a foot of space between each corn plant in every direction. When you’re finished, the design will seem like a series of triangles.
Growing Corn In Raised Beds

Choose The Right Location
When growing corn on a raised bed, you must select the best spot for your corn plants. Corn plants, require full sun to grow, so find a location in your garden that receives at least 6-8 hours of direct sunlight each day.
If you have numerous raised beds that get varied levels of sun each day, choose the raised bed that gets the most sun, but also consider what other veggies or crops you want to plant around the corn. Corn is a tall plant in most circumstances unless you grow a dwarf variety, so consider your other crops because the corn can shade them out and make them less productive.
Prepare The Soil
Corn plants grow best in well-drained, nutrient-rich soil. If your raised bed lacks suitable growing conditions, you can increase the soil quality by adding organic matter like compost or manure.
This will help to enhance drainage and provide nutrients to your plants. Next, loosen the soil to a depth of about 12 inches with a garden hoe or tiller. This will allow your plants’ roots to expand more freely. Finally, ensure that the raised bed is level for water to drain equally from all sides. You can achieve this with a rake. You are now ready to plant your corn in the raised bed.
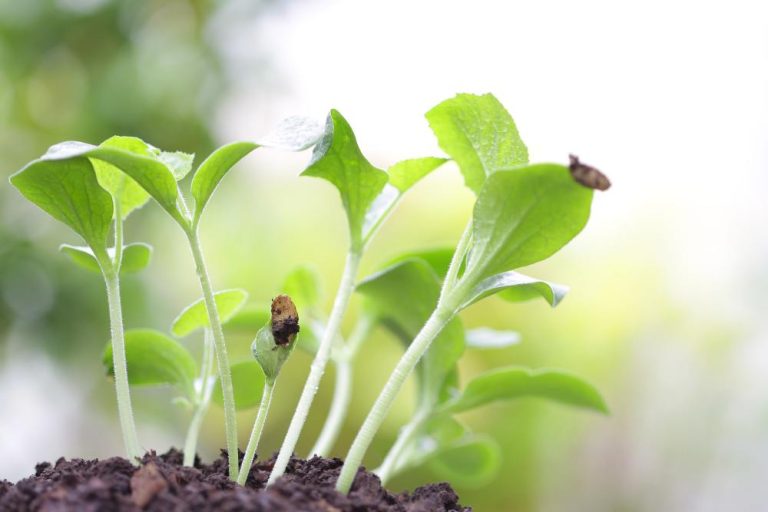
Planting
Planting corn early reduces problems with corn earworms. Earworm is the leading insect pest of corn in the home garden. In general, corn may not need any pesticide applications when it is planted in mid-April.
Turn the soil to a depth of approximately 8 inches, then apply a 2- to 3-inch layer of compost or composted manure and a general-purpose fertilizer according to package guidelines, and carefully mix everything. Plant 2 or 3 seeds about one-half to one inch deep every 10 inches in the row and thoroughly water them in.
Thin to 1 plant every 10 inches when the seeds develop and the plants are 3 to 4 inches tall. When the plants are approximately 12 inches tall, side-dress them with a nitrogen-containing fertilizer, then again when the plants are 24 to 36 inches tall. Corn is a strong feeder.
Corn Pollination In A Raised Garden Bed
Corn is best cultivated in numerous rows or blocks. This is due to the pollen being carried by the air from the tassel (on top of the plant) to the silk (on top of the cob). Each silk thread is attached to a distinct kernel.
That kernel requires pollination of its silk strand in order to mature. Plants planted in rows rely on the wind moving exactly down the row for pollen from one plant to settle on the silk of another plant. Plants grown in blocks, on the other hand, have a significantly better chance of full pollination because wind can flow from any direction and be effective.
Watering And Fertilizing Corn In A Raised
Watering is vital for corn growth, as it is for every plant. The amount of water required by your corn plants will be determined by the weather and the size of your raised bed. It would be beneficial if you irrigated your maize about 1-2 inches per week.
Then, apply the water to the plants’ bases so that it can directly soak into the roots. You may water your raised bed with a garden hose or an irrigation system. Just be careful not to overwater, since this might cause root rot and other issues. In addition to regular watering, your corn plants should be fertilized once a month. Use a nitrogen-rich, balanced fertilizer.
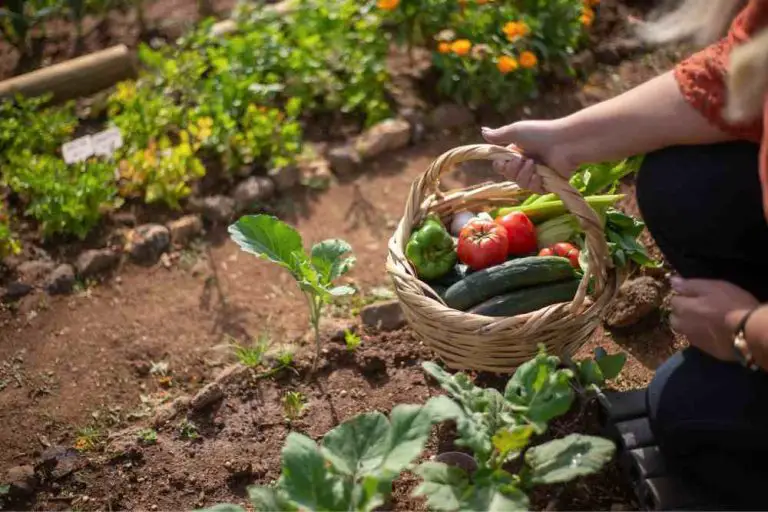
Harvesting Your Raised Bed Corn

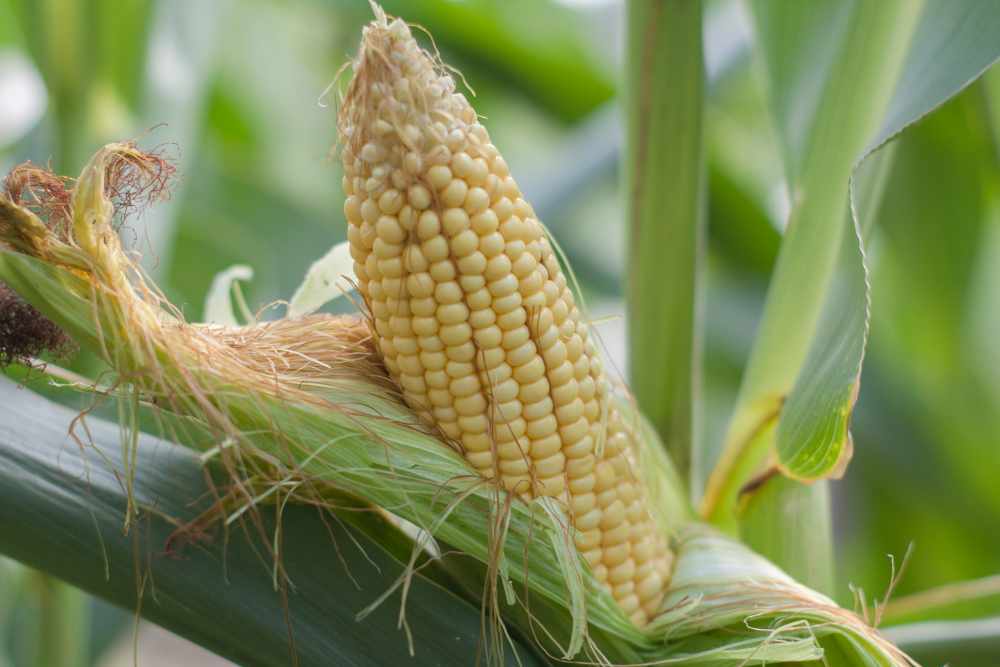
Corn is best harvested in the early morning when the temperature is low. Check the silks to see if they have begun to dry and turn brown to determine when ordinary sweet corn is ready to harvest. Then touch the ear. It should have a firm and full feel to it.
Peel back enough husk to poke a few kernels on the ears with your thumbnail. When sweet corn is at its peak of freshness, the juice from the kernels is milky white and runny. Corn is over-mature and starchy when the juice inside the kernels is thick and dough-like, and it is not ready when the liquid is clear and watery.
Corn typically matures 18 to 24 days after the appearance of the tassels or 15 to 20 days after the appearance of the first silks. Keep an eye on the corn because the quality of the sweet types varies quickly. Refrigerate or cook as soon as possible after harvesting.
Storage And Preservation
Field heat can be eliminated from ears by immersing them in ice-cold water for 15 minutes with one teaspoon of lemon juice and one teaspoon of bleach per gallon of water. Drain the ears and refrigerate them (4 to 5 years in one-gallon plastic or mesh bag) until ready to use.
Watch For Pests And Diseases
Corn, like every other crop, is susceptible to pests and diseases. Keep an eye out for common pests such as cutworms, aphids, corn rootworms, and earwigs. Animal pests can significantly affect corn production. Birds can be a problem during both seeding and harvesting, while raccoons enjoy ripening ears. Clean gardening practices, planting-resistant hybrids, and crop rotation are the best protection against most diseases.
To know more about Maize Fungal Diseases check out our article on Maize Fungal Diseases.

Lilani graduated with a bachelor of agriculture, with a specialization in biotechnology from the Wayamba University of Sri Lanka, as well as she is following a Master’s in Molecular Life Sciences. She has a passion for writing and communicating about agriculture topics and loves enthusing people about the botanical world.
- Outdoor Deck Decorating Ideas That Turn Any Backyard Into a Stunning Retreat - June 30, 2026
- 29 Bucket Gardening Ideas for a Lush, Compact Garden - October 30, 2024
- 20+ Chic Boho Bedroom Ideas for a Cozy and Stylish Retreat - June 20, 2024