A Step-by-Step Guide on How to Grow Celery Indoors Successfully
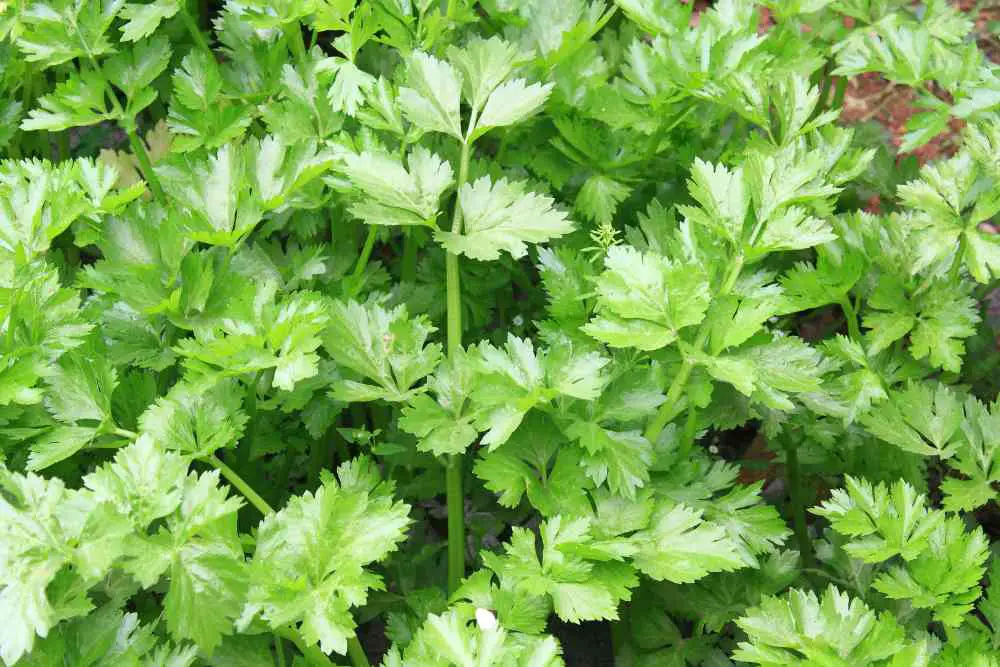
Most people agree that growing celery (Apium graveolens) is the most difficult vegetable to grow. Although it has a very long growing season, it has a very low tolerance for heat and cold. Most gardeners cultivate a celery plant just for the challenge because there isn’t much of a flavor difference between the homegrown type and the shop-bought variety.
Are You Ready To Begin? We’ll give you the most important tips on how to grow celery indoors. Let’s continue reading!!
Celery may be grown inside, just like tomatoes, and doing so might increase your enjoyment of the plant. You might not think that the celery plants in your garden are the most interesting vegetables.
However, the numerous health advantages that these cold-weather crops offer to our bodies only multiply if we routinely consume them. Considering how much water it contains, celery is very hydrating and only has 10 calories per stalk. And this plant offers more advantages than just low calories and water.
Antioxidants shield our organs, cells, and blood vessels from harm, and celery is a fantastic source of them. Vitamin C, beta carotene, and other minerals work to reduce inflammation throughout the body, especially in our digestive tracts, and lowering inflammation has been shown to aid arthritis and osteoporosis.
Choose Your Variety
The novice gardener may be surprised to learn that there are more varieties of celery available for indoor growth. This will enable you to shop for the type of growth you desire before beginning to plant. The following are some of the best celery kinds to start growing indoors:
- Ventura
- Tango Green
- Parcel
- Utah
- Red Venture
- Golden
The good news is that you have a variety of options for starting to cultivate celery of any of the aforementioned breeds. Celery can be grown from transplants, seeds, or stalks. Before spending money on containers, you’ll need to decide what kind of initial growth you want for your celery because its requirements will change depending on how it is before planting.
Choose Your Container
It’s time to choose a container once you’ve determined what sort of celery to grow and what condition you want it in before you plant it. Again, the variety of celery you decide to grow will affect the container you want to buy, but all varieties of celery flourish when they have space for their roots to spread out.
With that in mind, you’ll want to look for a pot that is at least eight inches tall. Purchases of clay pots, whether glazed or unglazed, should be avoided as the clay will rob the soil of its water and make it more challenging for your celery to obtain the moisture it requires.
When Should You Plant Celery?
Celery seed should ideally be started inside because it requires a long growing season. Start seeds for a fall harvest 10 to 12 weeks before the first fall frost date so that seedlings can be transplanted. Start growing Celery from Seeds.
Grow Celery From Seeds
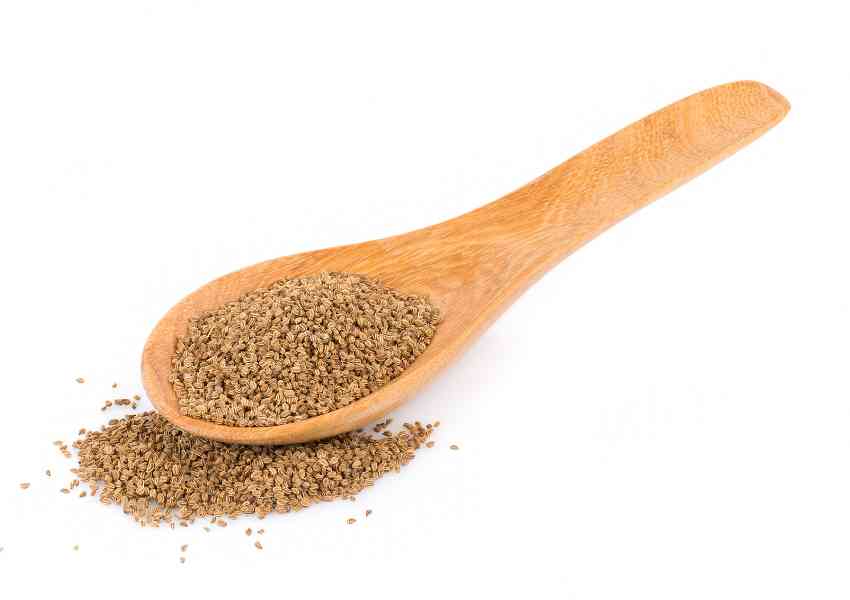
Find celery seeds in seed packages that will grow well in your region. You can find information about the celery’s growth cycle, the climate zones in which it can be grown, and other aspects of the plant on the back of the packet. A heat-resistant kind of celery or one with thick, dark green stalks are two options.
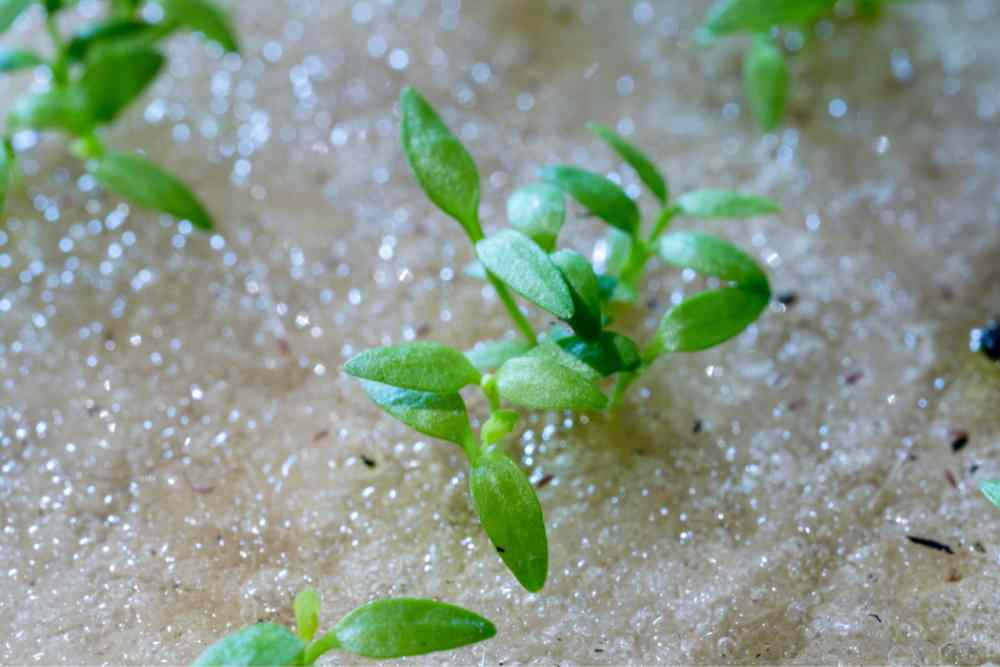
Although it will take a while for your celery to mature, soaking and beginning the seeds indoors will give you a head start. If you’re going to grow the celery in a large pot, you can start the seeds whenever you choose. If you chose to put the pot outside, just keep in mind the cold weather conditions in your area.
Before planting the seeds, soak them in a dish of water for an entire night. As celery seeds have a hard outer shell, it may be challenging for water to reach them in the soil. Put the seeds in a bowl, and cover them with cold water.
Choose a pot with drainage holes. Drain the seeds and place them in a soil-filled pot. The bowl of celery seeds should be placed into a fine-mesh strainer that is placed over the sink. Then, add regular potting soil to a container until it is at least 8 inches (20 cm) deep.
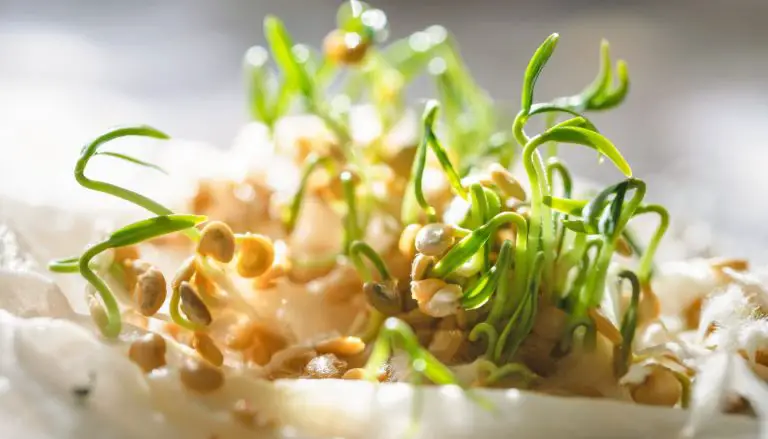
Then scatter the seeds over the soil. Cover the seeds with a layer of soil that is 14 inches (or 0.64 cm) thick. Do not press the seeds into the soil. Every other day, water the seeds. If the soil dries up, your celery seeds will not sprout. Fill the container with just enough water to hydrate the soil; avoid flooding it. Fill a clean spray bottle with water and sprinkle the soil every day if you wish. This ensures that the seeds are not overwatered.
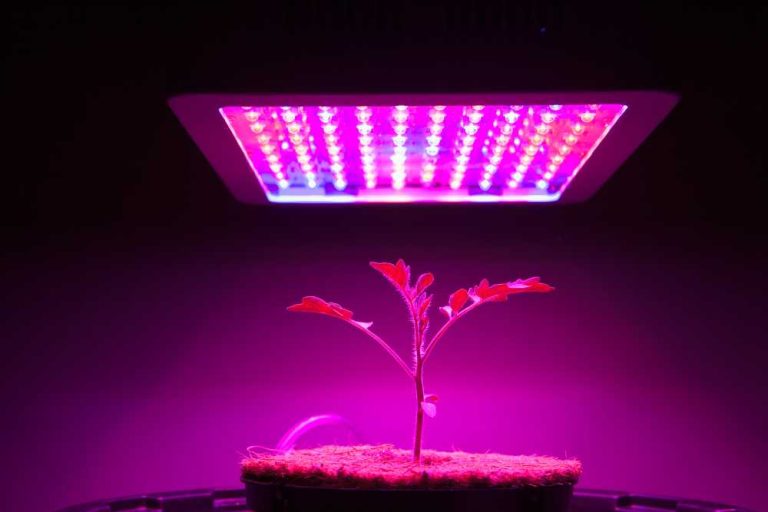
Place the container in a warm, sunny space. To provide the seeds with the ideal growing environment, maintain the room temperature between 60 and 70 °F (16 and 21 °C). A sunny windowsill would be a good place to put the pot. Put a lamp with an LED or fluorescent light over the container if you’re worried the seeds aren’t getting enough sunshine.
When the individual celery seedlings are 2 inches (5.1 cm) tall, transplant them. Plant each celery seed in its own pot or container after it is 2 inches (5.1 cm) tall. Celery starts won’t grow to their full size if you let them all grow in the same pot since they’ll crowd one another.
Transplanting
Choose a pot for your plant that is 8 in (20 cm) deep and well-draining. The pot must have holes on the bottom to allow excess water to drain. But, a plastic container can help keep the soil and celery plant from drying out. You could use any material. Use many pots if you wish to grow more than one celery start.
Put organic compost and garden soil in the pot. Get a bag of garden soil, and then add it to your pot until it is 3/4 full. The pH range of most garden soils is between 6 and 7. This pH range is ideal for celery. Add around 1 inch of organic compost to the soil. It helps to retain moisture. You can use homemade compost or else buy it from most gardening supply stores.
In the center of your pot, insert a celery start that you either purchased or raised from seed. This should be done 3 inches (7.6 cm) deep. The plant’s roots will be anchored if you add more garden soil and pack it around the base. Place enough soil in the pot so that it will level with the top.
Grow Celery From The Base
Purchase a bunch of celery that still has the base on it. Get already-grown celery from the supermarket or farmer’s market since you won’t be starting your celery from seeds. Choose a bunch of celery with bright green leaves that appear to be healthy.
A celery plant cannot be grown from a single celery stalk. This is why it’s crucial to get celery that still has its base connected. Remove the celery’s bottom by trimming off a 2 in (5.1 cm) base. Clean your celery by rinsing it thoroughly and placing it on a cutting board. To take off the base of the celery, carefully cut across it with a sharp knife. Individual stalks will not be used to grow new celery. Consume the celery stalks or incorporate them into other dishes.
Place the celery base in a dish or jar after drying the base with a kitchen towel or paper towel. Place the celery base so that the cut side is facing up. The bowl or jar should be twice as broad as the base of the celery. This allows the plant to grow. Fill the container with tap water until the water reaches the celery base’s side. Warm water is more beneficial than cold water because it promotes plant growth. Make sure not to use hot water since it will stress the plant and cause it to soften.
Place the celery container somewhere that gets plenty of light. Your celery needs 6 to 7 hours of sunlight each day for proper development. Placing an LED or fluorescent light close to the plant will help if your room doesn’t get enough natural light. Finally, switch on the lamp to make sure the celery receives 6 or 7 hours of light daily.
While the water sits, it will grow stagnant, so empty it and add fresh water around every two days. When the celery base begins to dry out, add more water. The top of the celery base will gradually start to sprout little green and yellow leaves. This should take 6 to 7 days.
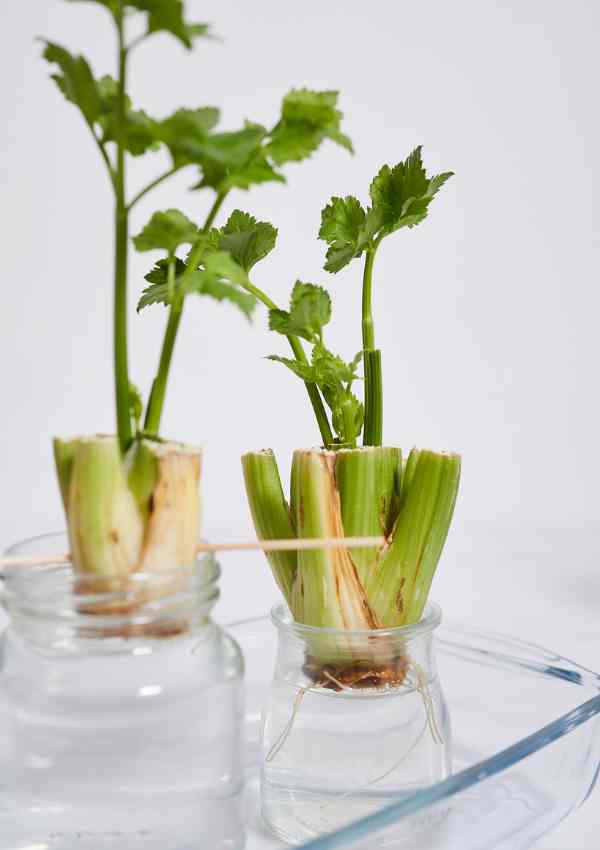
In a pot with soil, plant the celery base after one week. Fill a pot about two-thirds full with garden soil before adding the celery foundation since the celery plant requires nutrients from the soil. The new plant should be watered once the base has been completely covered with soil, leaving only the small shoots showing.
Watering
Water the plant every other day to keep the soil moist. Celery won’t grow well if the soil surrounding it dries out. As the earth starts to feel a little dry, touch it and water the area surrounding the plant’s base. If the soil takes most of the water, you might need to water the celery more frequently every few days or even more frequently. A sunny area should be chosen for the celery container.
Harvesting
Harvest celery in the summer and fall until the first heavy frosts limit growth. Celery is a biennial plant that can overwinter in milder climes. It can grow sporadic stems during the coldest months and then start growing in the spring before eventually stretching to flower. Plants can be harvested whole, however, cutting or plucking individual stems as needed will prolong plant production.
Celery is primarily taken from its stalks, which are found above ground. You can harvest the stalks whenever you choose. Young celery is just as excellent as the mature variety. Stalks are harvested from the outside in. After the stalks are about 8 inches tall, you can start harvesting.
Celery can withstand a light frost but not multiple frosts. The more nutrition the stalks hold, the darker they get. The texture varies with color; dark green stalks are harder.
How to Keep Celery
Refrigerate celery in a plastic bag. Celery has an excellent shelf life; you may easily preserve it for several weeks. Celery stalks can be stored in the freezer. Store the stalks in freezer-safe bags after cutting them into half-inch pieces.
- 29 Bucket Gardening Ideas for a Lush, Compact Garden - October 30, 2024
- 20+ Chic Boho Bedroom Ideas for a Cozy and Stylish Retreat - June 20, 2024
- 12+ Modern Boho Living Room Ideas to Create a Unique Oasis - June 10, 2024

