Dollar Tree Halloween DIY Ideas That Look Spooky, Stylish, and Surprisingly Expensive
Halloween decorating does not have to mean spending a fortune on decorations that only come out of storage for a few weeks. A quick trip to Dollar Tree can provide plenty of inexpensive supplies for creating spooky, creative, and surprisingly stylish decorations at home.
From creepy candle holders and haunted lanterns to eerie wreaths and playful pumpkin displays, these projects turn simple craft-store finds into decorations with plenty of personality. The best part? Most ideas are beginner-friendly and can be customized to match a home’s existing Halloween style.
Here are 12 Dollar Tree Halloween DIY ideas that bring plenty of spooky charm without putting a huge dent in the decorating budget.
Spooky Black Candle Holders
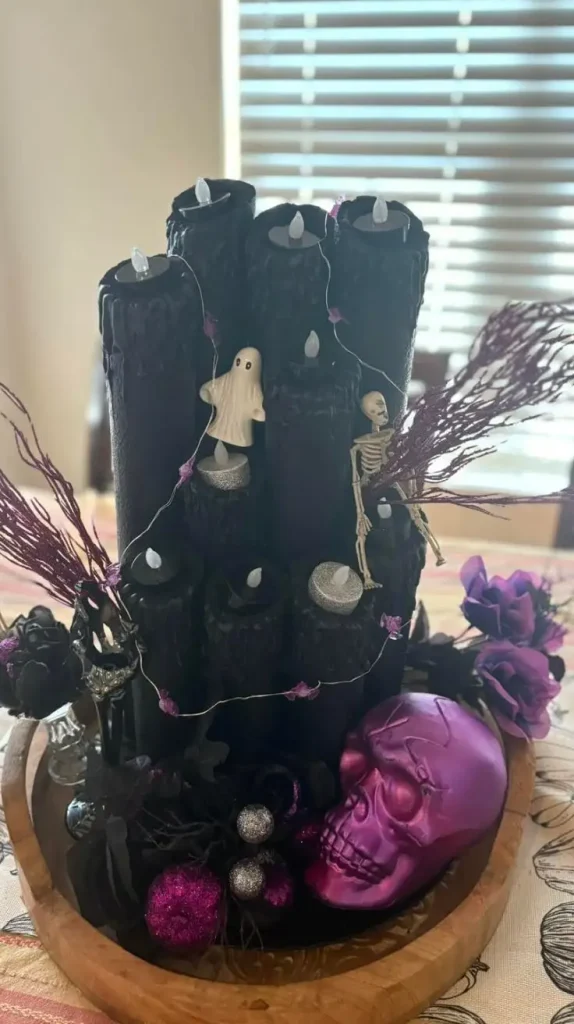
A plain glass candle holder can become one of the easiest Halloween decorations with a little black paint and a few creepy details.
Start with inexpensive glass candle holders, taper holders, or small decorative stands. Paint them black using acrylic or spray paint suitable for the material. Allow each piece to dry completely before adding another layer if needed.
For extra character, attach small plastic spiders, faux cobwebs, tiny skulls, or dark ribbon around the base. Battery-operated LED candles are a practical choice because they create a warm glow without an open flame.
Arrange several holders together on a dining table, fireplace mantel, entryway console, or bookshelf. Mixing different heights makes the display feel more dramatic. A few inexpensive materials can suddenly create a moody Halloween centerpiece that looks far more elaborate than its price tag suggests.
Creepy Spider Web Wreath
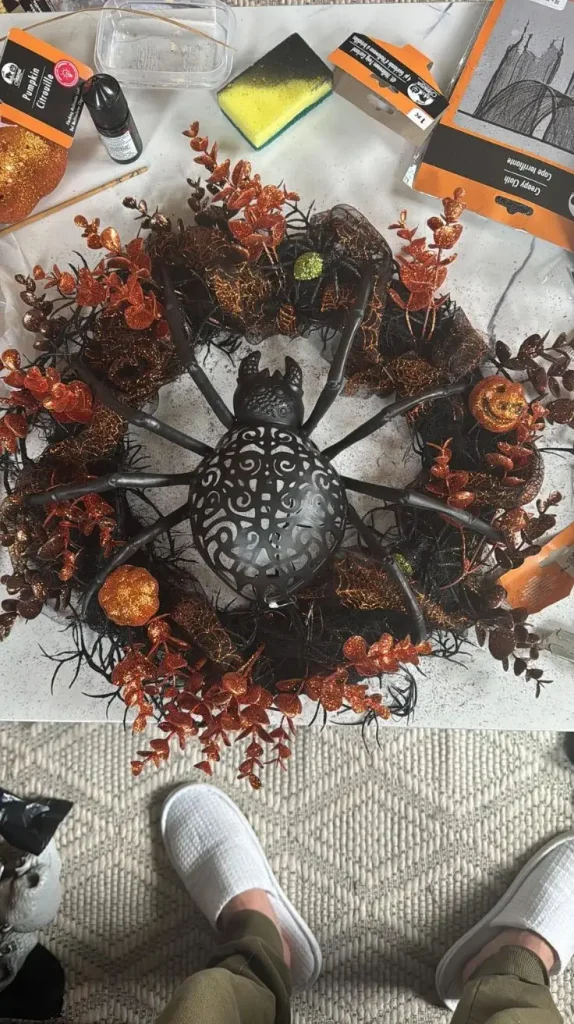
A Halloween wreath can completely change the appearance of a front door, and it does not require an expensive base.
Use an inexpensive foam wreath, plastic wreath form, or even a lightweight circular craft frame. Cover the surface with black fabric, ribbon, mesh, or faux spider web material. Then add plastic spiders in different sizes across the front.
For a more dramatic appearance, place one oversized spider near the center or slightly off to one side. Black, purple, orange, and silver accents can be combined for different Halloween themes. A small sign reading “Boo,” “Beware,” or “Enter If You Dare” can give the finished piece an extra focal point.
The secret is layering. Instead of attaching every decoration flat against the wreath, allow some webbing and ribbons to extend outward. That little bit of texture makes the decoration look fuller and more interesting.
Haunted Halloween Lantern
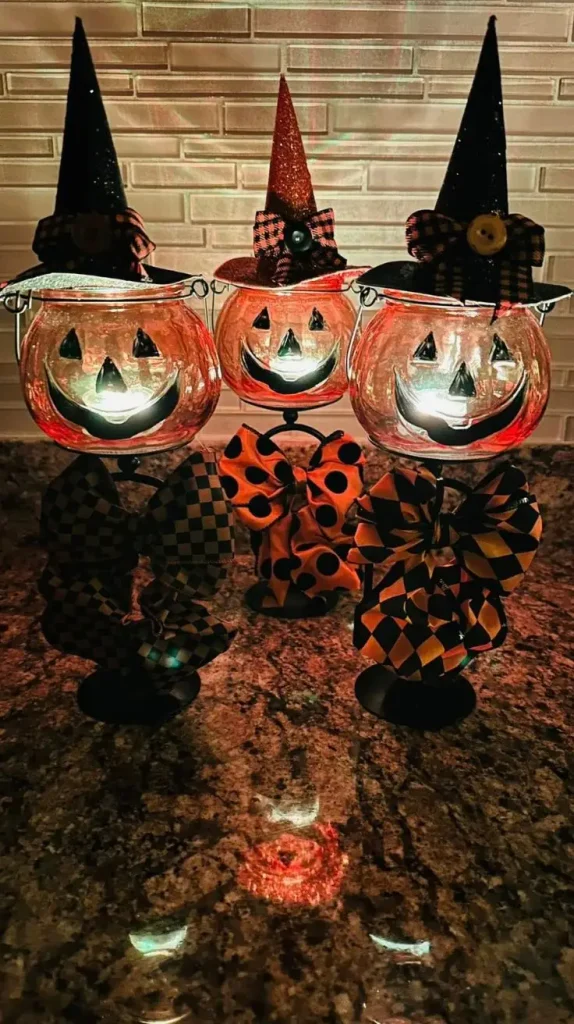
Ordinary decorative lanterns can become eerie little haunted displays with only a few additions. Begin with a black or metallic lantern. Place a battery-operated tea light inside, then surround it with faux spider webs. Add tiny skeletons, plastic spiders, miniature pumpkins, or other Halloween accessories around the base.
For an especially creepy effect, place a small skeleton or skull inside the lantern instead of a candle. During the evening, the light shining around the figure can create dramatic shadows.
These lanterns work beautifully on porches, stair steps, patios, mantels, or tables. Several lanterns grouped together can create an entire spooky corner. For families with children, LED lights are especially useful because they provide the glow of candlelight without a real flame.
DIY Skeleton Flower Arrangement
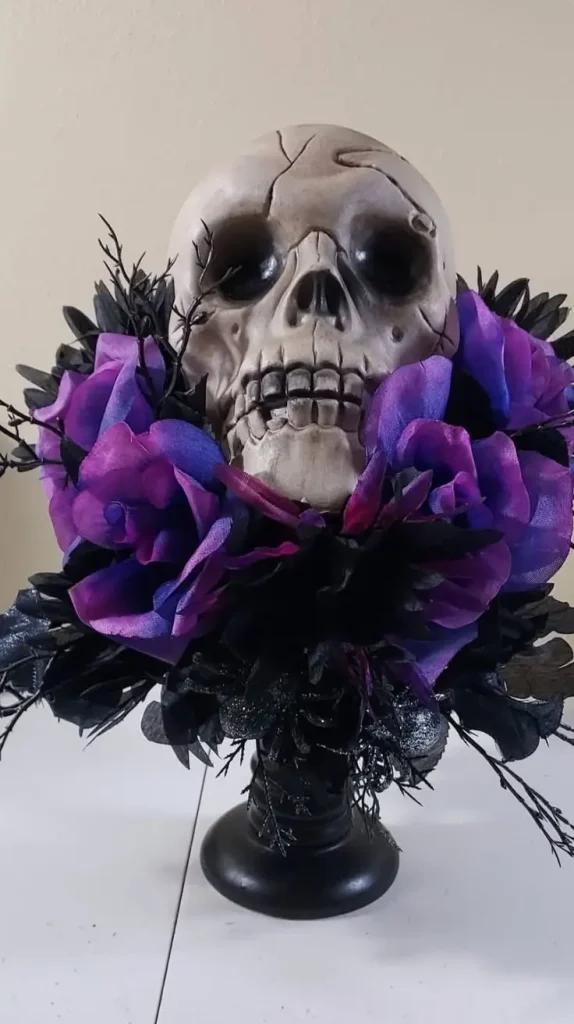
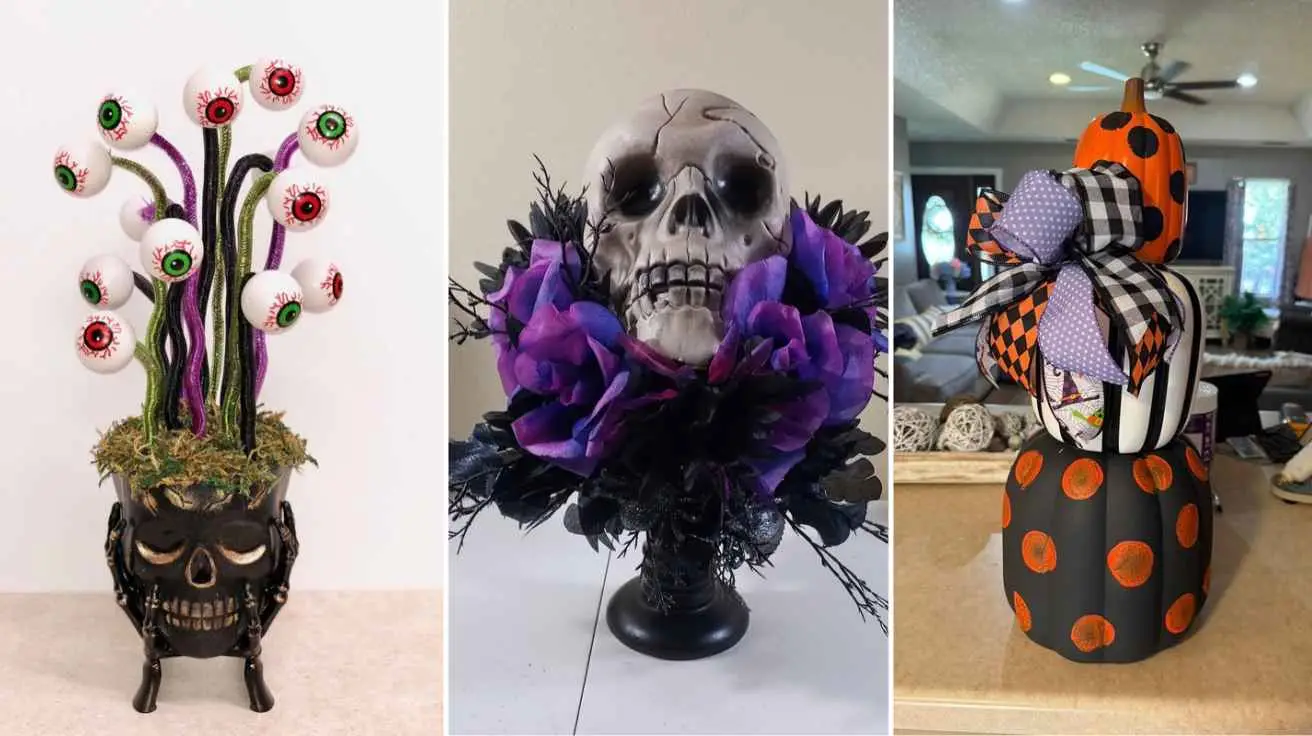
Halloween decorations do not always have to look dark and frightening. A spooky floral arrangement can add a little elegance while still keeping the Halloween theme strong. Use a simple vase, black container, or inexpensive glass jar. Fill it with faux flowers, black branches, dried-looking stems, or artificial fall foliage.
Add miniature skeletons, skulls, plastic spiders, or small Halloween ornaments between the flowers. Black and orange flowers create a classic seasonal appearance, while purple flowers can give the arrangement a mysterious look.
For a haunted garden feeling, add faux moss around the bottom of the container. Place the finished arrangement on a dining table, kitchen island, entryway table, or living room shelf. It can also become a striking Halloween centerpiece when surrounded by small pumpkins and LED candles.
Mini Halloween Pumpkin Display
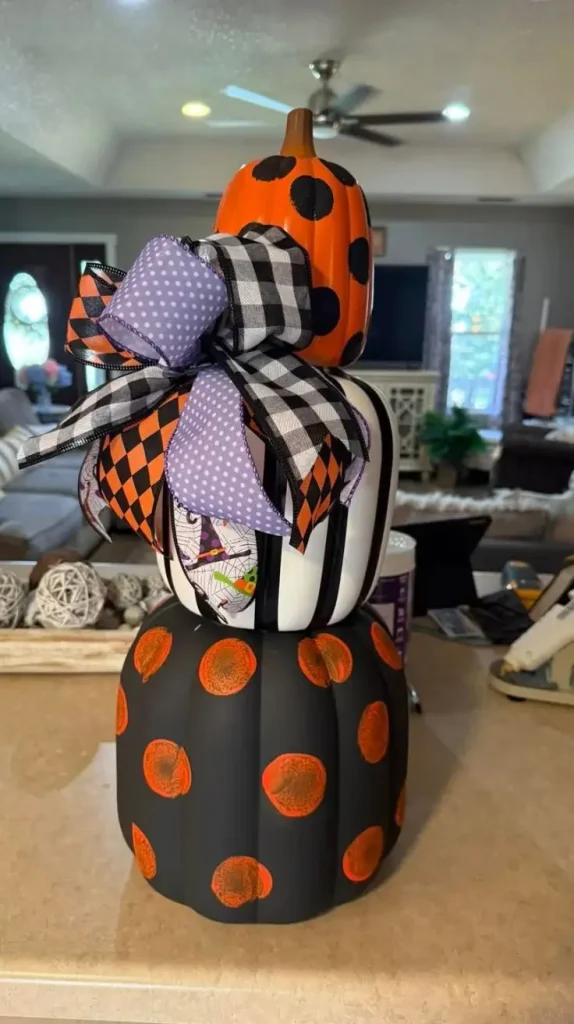
Small pumpkins are perfect for creating an inexpensive seasonal vignette. Collect several foam, plastic, or decorative pumpkins in different sizes. Paint some black, leave others orange, and add white pumpkins for contrast. Simple painted faces, stripes, polka dots, bats, ghosts, or spiderweb patterns can make each pumpkin look different.
Another fun idea is to create a monochromatic display using only black and white pumpkins. Add a few metallic details for a more sophisticated appearance. Arrange the pumpkins on a tray or wooden board. Surround them with faux leaves, miniature skulls, cobwebs, or battery-powered lights.
This type of display works almost anywhere. A kitchen counter, coffee table, bookshelf, porch step, or bathroom shelf can instantly become part of the Halloween decorating scheme.
Creepy Eyeball Decorations
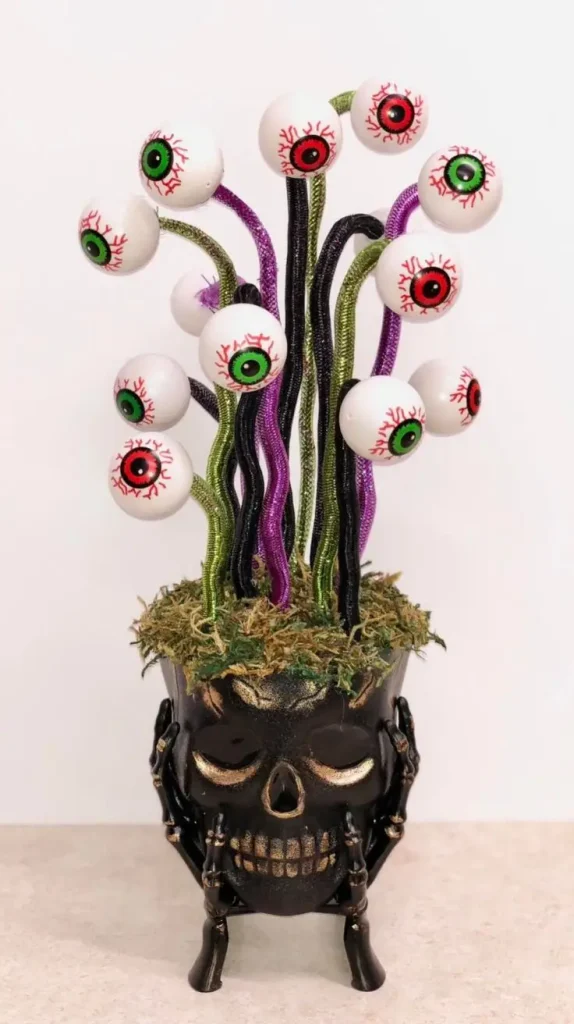
For a playful Halloween look, oversized eyeballs can turn an ordinary corner into something wonderfully weird. Use lightweight craft balls or inexpensive round decorations as the base. Paint them white and add colorful irises with black pupils. A little red paint around the edges can create a creepy bloodshot effect.
Once dry, scatter the eyeballs inside a decorative bowl, place them among faux plants, or arrange them around a Halloween centerpiece.
They can also be attached to wreaths, garlands, planters, or outdoor decorations. The fun comes from unexpected placement. An eyeball peeking from behind a plant or sitting inside a decorative bowl can surprise guests without requiring complicated crafting skills. For children, this is also an easy project because the designs do not need to be perfectly painted.
Halloween Skull Planters
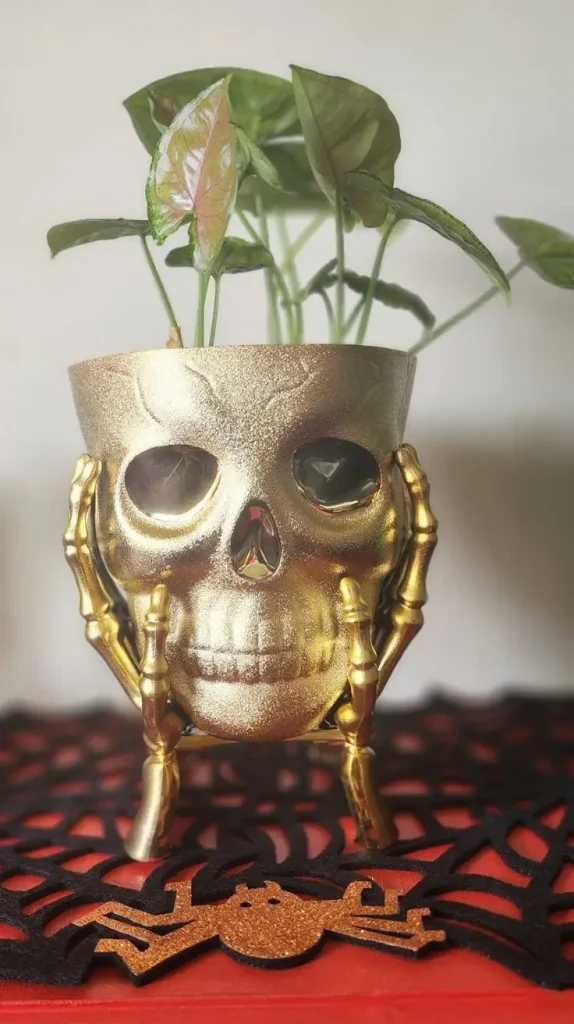
Plain planters can receive a dramatic Halloween makeover with paint and a few spooky accessories.
Choose a small planter or container and paint it black, gray, white, or orange. Once dry, add a skull design to the front. A simple skull face can be painted by hand using basic shapes rather than complicated details.
Fill the container with faux flowers, artificial greenery, dark branches, or seasonal foliage. For outdoor use, choose materials that can handle the weather, or keep the finished decoration beneath a covered porch.
Several skull planters lined along a walkway can create a creepy garden display. Smaller versions can decorate windowsills, shelves, countertops, and tables. The contrast between living-looking greenery and spooky skull details gives the arrangement an especially fun Halloween personality.
DIY Ghost Hanging Decorations
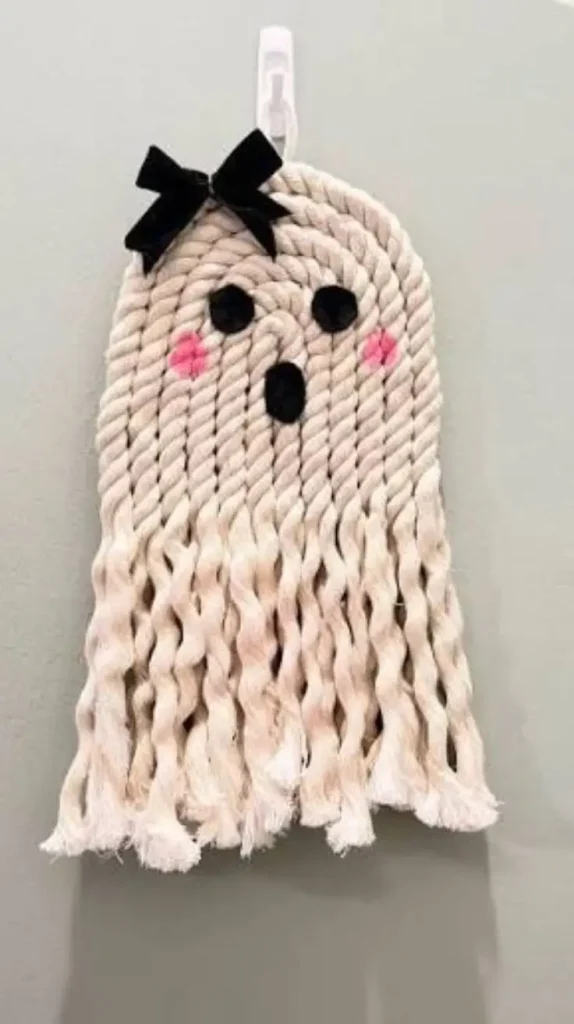
Ghost decorations are classic Halloween favorites, and they can be surprisingly easy to make. Use lightweight white fabric, cheesecloth, or another thin material to create the ghost body. A small round object can form the head, while the fabric hangs naturally underneath.
Add simple black eyes and a mouth with felt or other craft materials. Keep the expression friendly for a family Halloween party or make the features darker for a haunted-house atmosphere. Hang several ghosts from a porch ceiling, tree branches, doorway, covered patio, or indoor ceiling.
Different sizes make the display more interesting. One large ghost surrounded by several smaller ones can create a dramatic focal point. When a light breeze moves the fabric, the ghosts can appear to float in the air, adding movement to the Halloween display.
Black Cat Door Decoration
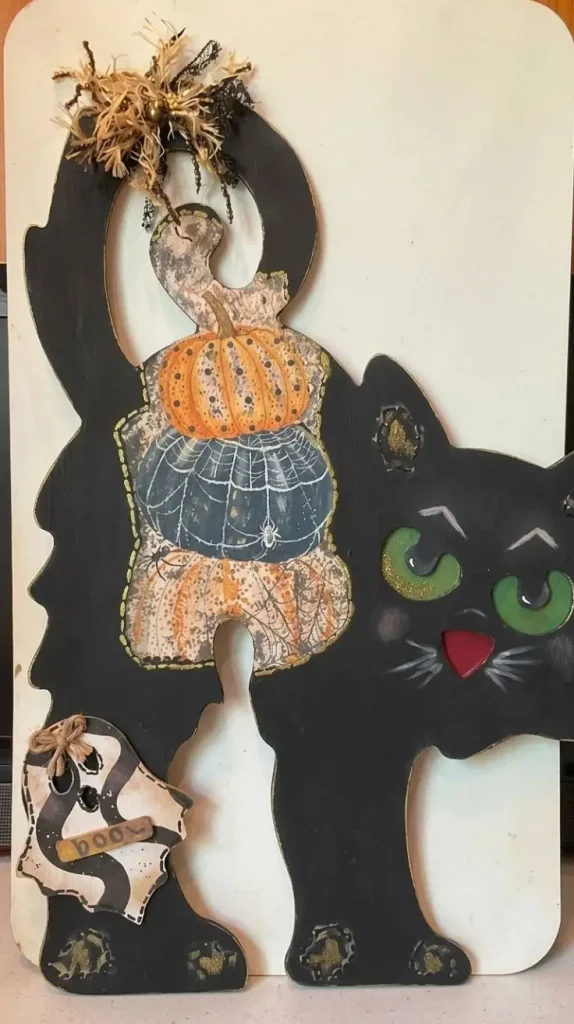
A black cat silhouette can make a charming Halloween door accent. Cut the basic shape from lightweight black foam board or another sturdy craft material. Add pointed ears, a curved tail, and large eyes.
The eyes can be made from white, yellow, or reflective material to make them stand out against the dark background. Attach the cat securely to the front door or place it beside the entrance. A small orange bow or Halloween message can add a playful touch.
For a more dramatic design, create several cat silhouettes in different sizes and arrange them as though they are walking toward the doorway. This decoration works especially well for homes that prefer Halloween decor that feels cute rather than frightening.
Spooky Halloween Picture Frames
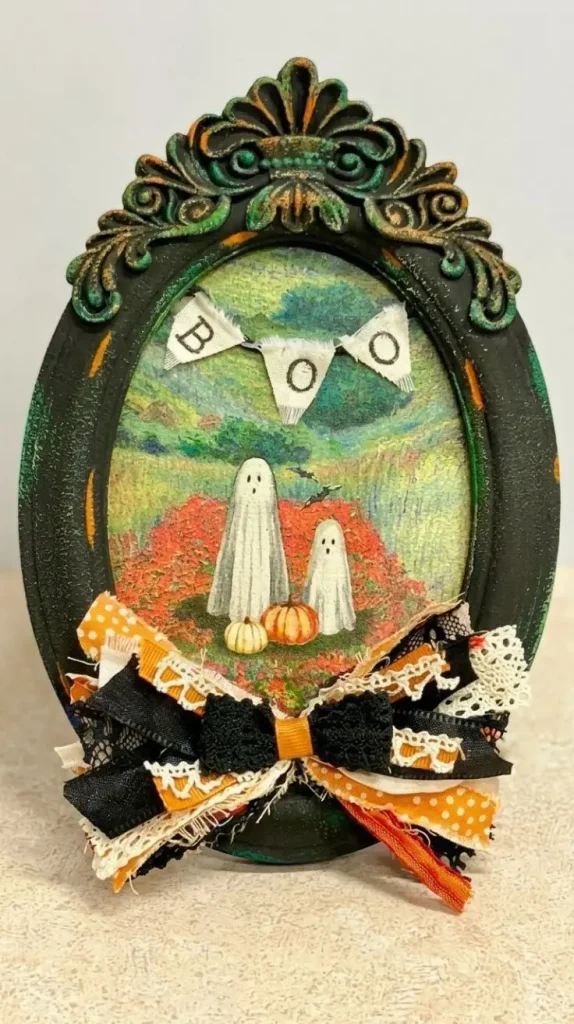
An inexpensive picture frame can become a creepy piece of Halloween wall art. Paint the frame black and allow it to dry. Add small spiders, cobwebs, skulls, bats, or other decorative pieces around the edges.
Instead of placing a family photograph inside, use a spooky printable image, vintage-style portrait, skeleton illustration, or Halloween quote. Several frames arranged together can create a haunted gallery wall. Use different frame sizes and shapes to make the display feel collected rather than perfectly matched.
For an old-fashioned haunted-house effect, lightly distress the frame with gray or brown paint. The imperfect finish can make the decoration appear aged. This project is especially useful for decorating hallways and walls that otherwise receive little seasonal attention.
DIY Halloween Potion Bottles
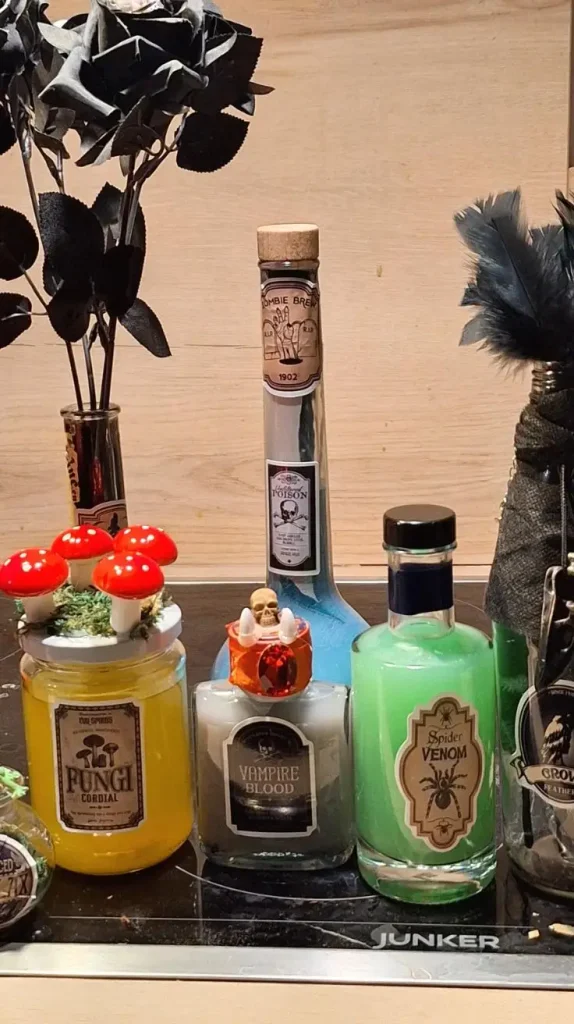
Potion bottles are a great way to add a mysterious witch-inspired detail to a Halloween display. Use small glass or plastic bottles and decorate them with homemade labels such as “Witch’s Brew,” “Dragon Tears,” “Spider Venom,” or “Moon Dust.”
Fill the bottles with colored water, decorative beads, faux moss, or other safe craft materials. Secure the lids tightly, especially when children are around. Wrap twine or ribbon around the neck of each bottle and add tiny charms or paper tags.
Arrange the bottles on a tray alongside candles, miniature pumpkins, faux spiders, and old-looking books. A collection of mismatched bottles often looks better than identical ones. Different shapes and label designs create the appearance of a mysterious apothecary discovered inside an old haunted house.
Halloween Table Centerpiece
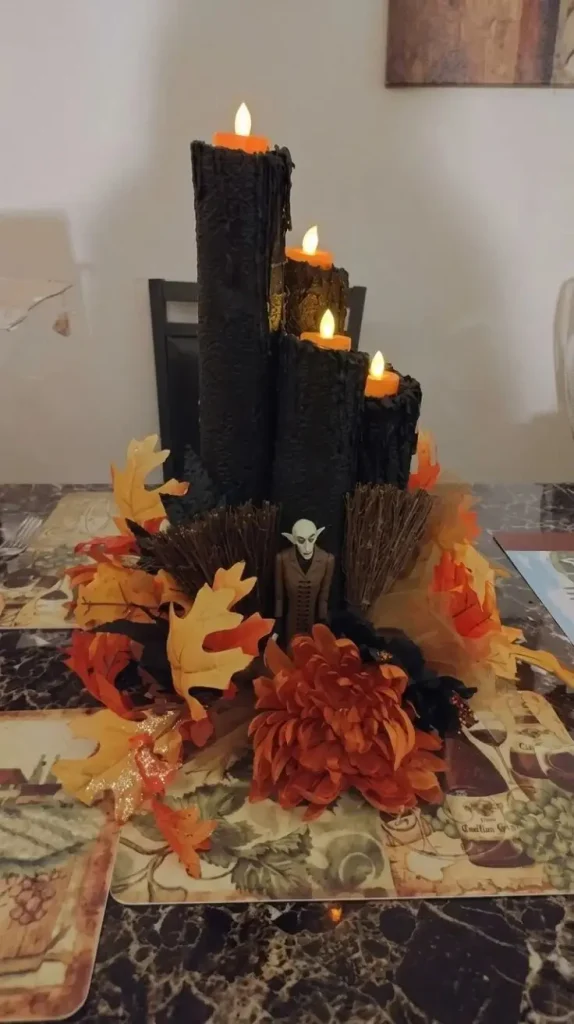
The final project brings several simple decorating elements together into one memorable Halloween centerpiece.
Start with a tray, shallow basket, or decorative container. Place a few small pumpkins in the center and surround them with faux leaves, black fabric, spider webs, skulls, or miniature Halloween figures.
Add LED candles at different heights to create a warm evening glow. Black and orange decorations provide a traditional Halloween appearance, while black, white, and silver can create a more modern arrangement.
For a dramatic finishing touch, add a few plastic spiders around the outside of the arrangement. Place taller objects in the middle and shorter decorations around the edges to keep the centerpiece visually balanced. If it will sit on a dining table, avoid making it so tall that guests cannot see across the table.
This simple arrangement can become the centerpiece of a Halloween dinner, family gathering, or fall party.
Read

She has nearly 5 years of expertise in organic gardening, plant pests and diseases, landscape design, horticulture, and permaculture. She is a Master Gardener and Horticulturist.
She includes keywords and phrases that raise the content’s search engine ranking because she has a good grasp of SEO best practices.
- Room Color Combination Ideas to Create a Beautiful, Cozy, and Stylish Home - October 22, 2026
- Hall Colour Combination Ideas to Make Your Home Look Beautiful and Welcoming - October 21, 2026
- Red Christmas Tree Ideas to Make Your Home Feel Magical This Holiday Season - October 20, 2026