Growing Garlic: A Comprehensive Guide to Planting and Harvesting
Garlic is one of the easiest plants you can grow. In most parts of the country, garlic is grown in autumn. By this time, much of the summer crop had already been harvested, leaving plenty of space in the garden.
Garlic is a powerful nutrient-rich ingredient that is essential for countless cooking methods. Autumn is the best time to plant in most areas.
What Kind Of Garlic To Plant?
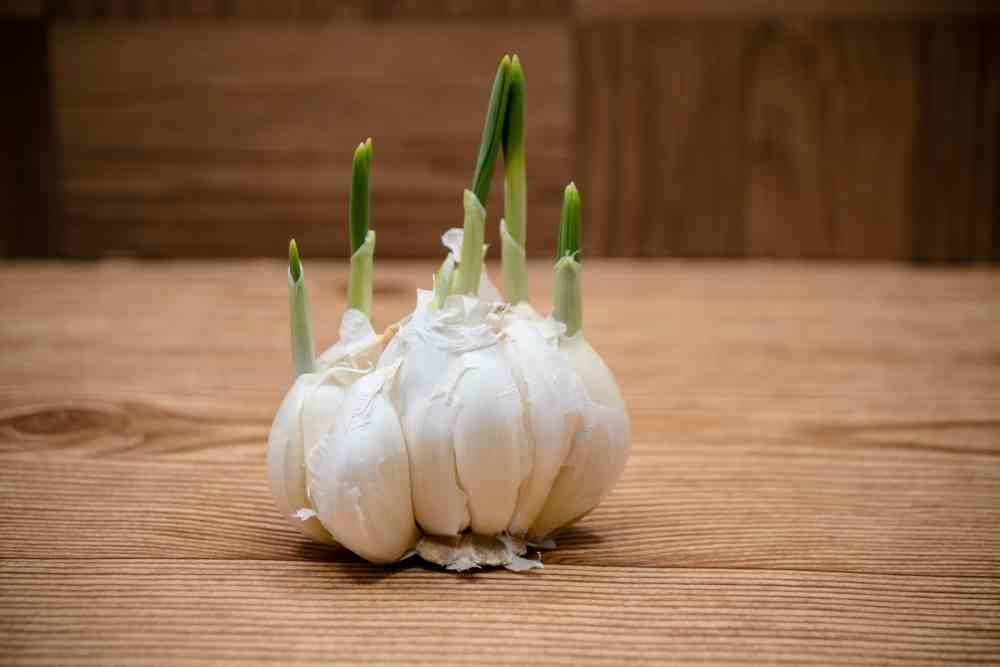
If you grow garlic from a special stock, choose the largest and best heads for the summer harvest. When buying, look for garlic for sale specifically to grow. Garlic taken from supermarket produce can be treated with sprouts to prevent it from growing. Garlic is usually planted in autumn (between September and November). Garlic roots develop during the fall and winter – before the soil freezes – and in early spring they begin to produce leaves.
However, you can also plant garlic in the spring, especially if you have a long season. Although the cloves will be little, you will like the garlic, which is a tasty sprout with a slight garlic flavor. Enjoy with eggs, with salads, as a pizza topping, or with fries.
Below are Several Types Of Garlic
The hard neck-garlic variety produces hard stems that grow in the center of the bulb. Compared to soft-neck varieties, they usually have a sharper flavor, with varying degrees of flavor between varieties.
Softneck varieties of garlic do not produce a hard middle stem. This is a list of the types of garlic you will find at most grocery stores. It has a mild taste.
Some of the most popular hard-neck types are:
- Plant ‘Elephant Garlic‘ in the spring or fall for huge, mild bulbs that are perfect for roasting.
- ‘Carcassonne Wight‘ is well adapted to the UK and may be planted in the spring or autumn.
- The autumn planting variety ‘Red Duke‘ has a furiously robust and spicy flavor.
Some of the better soft-neck types are:
- Plant ‘Wight Cristo’ in the spring or autumn for an exquisite bouquet.
- ‘Picardy Wight’ has a robust flavor and a lengthy shelf life.
- ‘Germidour‘ is a reliable variety with a softer flavor. This variety can be planted in the spring or fall.
Six Steps For Growing Garlic In Your Garden
Step 1 – Plant garlic four to six weeks before the ground freezes in the fall. For proper bulb growth, most types require one or two months at 0 –10°C (32–50°F). Some varieties, on the other hand, are best planted in the early spring. Your soil should be in good condition. Long before you want to start planting, mix in a lot of quality compost. Make that you have sufficient space. Plant at a location that receives the most sunshine hours. It’s crucial to have good drainage.

Step 2 – Prepare the soil by loosening it to an 8-inch depth and progressively adding organic fertilizer.
Step 3 – Separate the head of garlic into individual cloves before planting, ensuring that the wrapping on each bulb is as tightly packed as possible. Cloves can be planted in rows or in multi-row beds, but there must be at least 6 inches between neighbors on all sides. Place each one in the soil about 2 inches deep, with the flat end down and the pointed tip about 1-2 inches deep.
Step 4 – Gently toss the floor, and cover the bed with 4 “to 6” straw. Although the air temperature decreases, the soil is still warm enough for the newly planted clover to settle before the soil freezes.
Step 5 – In the following spring and summer, keep the beds filled with weeds and water.
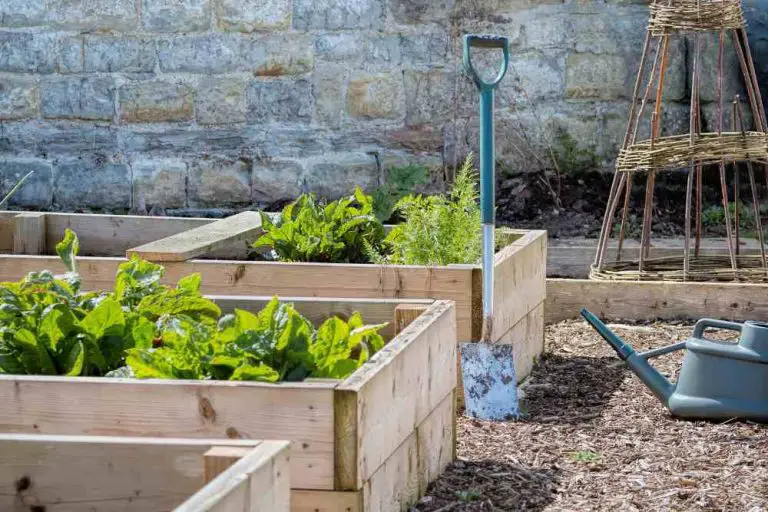
You don’t need a big garden to grow garlic; Garlic is very happy to be in a container on the patio or balcony.
Growing Garlic In Containers
Choose a container at least 20cm in diameter and depth so that the roots can grow well. Fill your container with a variety of fertilizers and add special onion fertilizer. Each clove is planted to a depth of 2.5 cm and placed at a distance of about 10-15 cm. Keep the compost moist.

Garlic does not require much demand but is easily susceptible to birds that like to pull freshly planted grass out of the ground. It is best to cover the area with net or wool horticulture after planting. You need to water the garlic for a long dry time. If you notice flowers forming, you can either remove them or leave them untouched; in any case, it should not affect the swelling of the bulb.
Harvesting Garlic
One of the most difficult tasks of growing garlic is to decide when to harvest garlic. If you harvest too fast, the cloves will be small and undeveloped (can be used instead of being as large and bulging as possible). If you wait too long because the scalp is dry, the scalp starts to separate and the scalp will not be hard and stiff.
Harvest as soon as the tops start to turn yellow and fall off, but before they are completely consumed.
Do not pull the stalk; Instead, use a fork or shovel to gently pluck and remove the bulbs, leaving the stems and leaves to stick together. There is nothing better than the smell of garlic and the warmth of the sun when you lift the head of garlic at home off the ground. Remove excess dirt and even the outer layer of skin.
Be careful not to cut the garlic bulbs with a trowel as this will reduce the risk of storing them. Also, do not leave the bulbs in the ground for too long when the leaves are dry as the bulbs may sprout again and may rot when stored.
Store Garlic
The bulbs are cured and ready to store when the cover is dry and the paper and the roots are dry. The crown of the roots should be strong, and the cloves are easily broken. You can store them when the garlic bulbs are dry. Cut the roots or leaves.
For hard-neck varieties, after about 2-4 weeks, cut the stems and cut the roots. They’re now good to go for up to six months in the fridge. The soft-neck type can be woven and then hung for up to 9-12 months. Just cut the head with a braid if necessary. Always store garlic in a cool place out of direct sunlight and well-ventilated.
Garlic Pests and Diseases
Garlic has a few problems with pests in the garden (in fact, it is a natural pesticide), and also a few problems with diseases affecting other vegetables. White rot is only a concern, but you should also look out for insects that damage onions.
Rust (Puccinia Porri)
From May onwards, little orange blisters emerge on the plant’s leaves. Increased quantities of sulfate of potash hoed in around the plants in February can provide some protection, as would regular spraying or watering with sulfur compounds.
White Rot
It is soil-borne and occurs where there has been a history of continuous allium farming. In April, the plants begin to deteriorate, and the June bulb turns white dust.
As the condition is severe, a white cottony fungal growth with black specks emerges. All contaminated material should be destroyed, and no alliums should be grown in the diseased region for at least 15 years.
Onion Fly
The presence of the onion fly is usually indicated by a halt in development and a thickening of the plant’s neck. After then, the plant dies. Onion flies deposit their eggs near or on the plant.
The maggot looks to crawl into the bulb as it hatches, causing it to collapse. Lift afflicted plants if they die for no apparent cause. From March through May, keep the soil surrounding the plants thoroughly cultivated to provide some protection.
Stem & Bulb Eel Worm
Their symptoms are often confused with White Rot, a few plants may start to fade in April and June, followed by more and more. Other garden plants support a soil-borne nematode. It is necessary to remove and destroy any plants that have been injured.
Composting should not be done in the garden. To prevent this problem from repeating, rotate your garlic-growing area, and leave the damaged area fallow for at least three years, avoiding allowing anything to grow there that may harbor these pests.

Lilani graduated with a bachelor of agriculture, with a specialization in biotechnology from the Wayamba University of Sri Lanka, as well as she is following a Master’s in Molecular Life Sciences. She has a passion for writing and communicating about agriculture topics and loves enthusing people about the botanical world.
- 15 Ingenious Kitchen Garden Ideas to Cultivate Freshness Right at Home - April 7, 2024
- 10 Top Picks Best Plants for Open Terrarium - April 2, 2024
- 21 Easy and Cheap Walkway Ideas for a Charming Garden - March 31, 2024