6 Steps Of Potatoes Gardening, Pests and Diseases
If you are going to make your plans to plant potatoes on your own, here we got some ideas for you. And we are going to talk here about the pros and cons while planting potatoes.
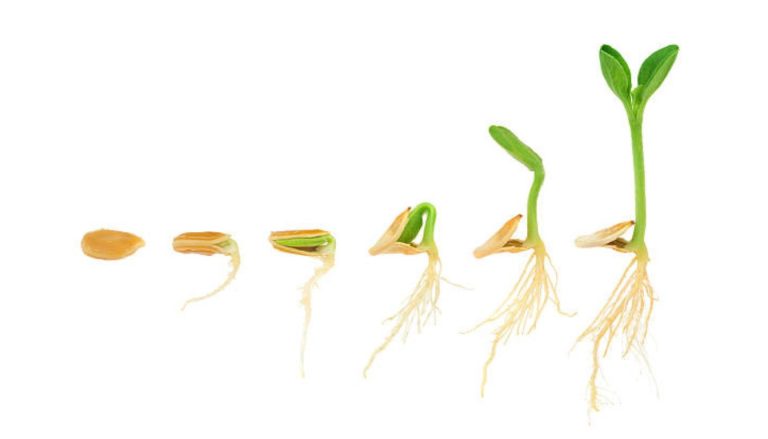
Potatoes also can grow easily. They adapt well to many environments and can grow anywhere outdoors in the garden or in pots and indoors in all varieties of pots. And since the only way to prevent the use of pesticides or other potentially harmful substances is to grow your own vegetables, many people are wondering how to grow potatoes.
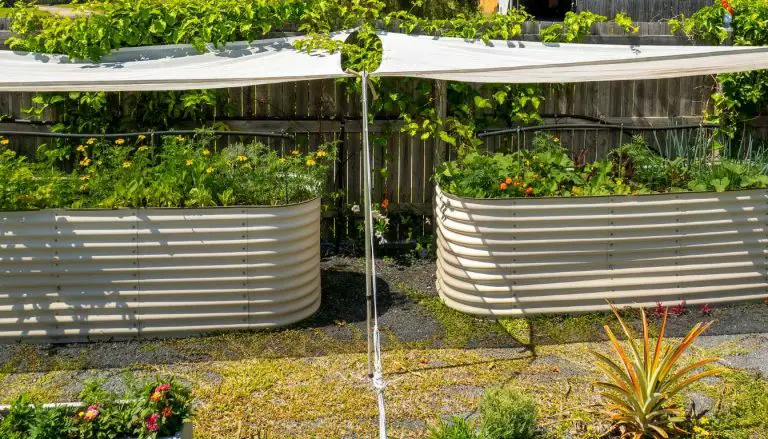
You can plant the potatoes in containers, pots, or a special “grow bag”. Plants like this require constant attention to watering and give less yield than growing in a high bed.
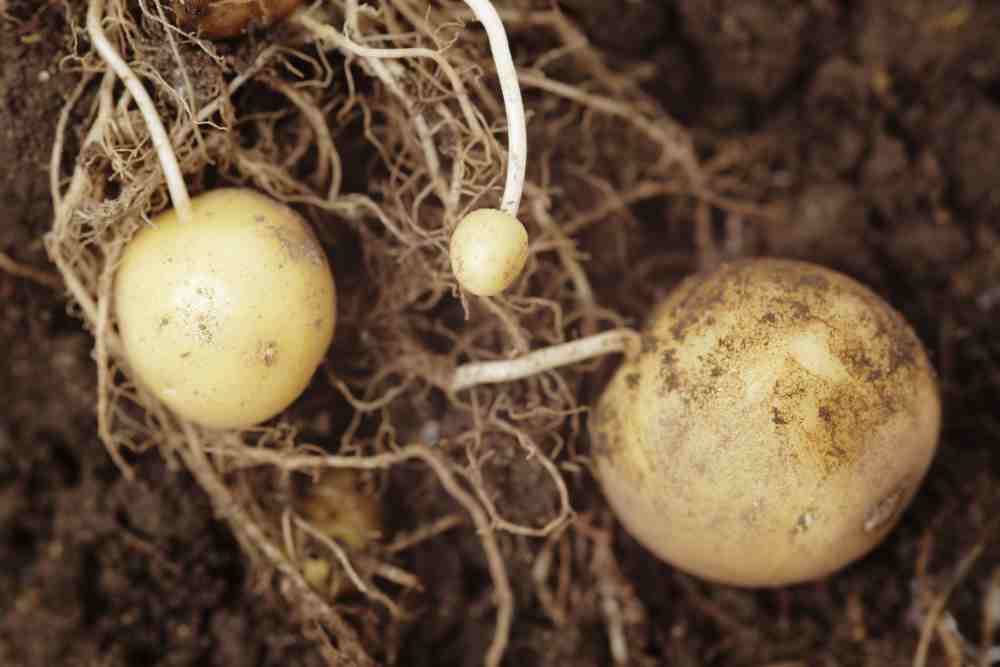
Of all the vegetable crops you have grown, potatoes will give you the most excitement at harvest time. You will like to stick your hands in the ground and pick up the buried gift, with a yield of eight to ten potatoes for each one you plant.
Potato Gardening Steps
Step 1 – Choose Potato Seeds
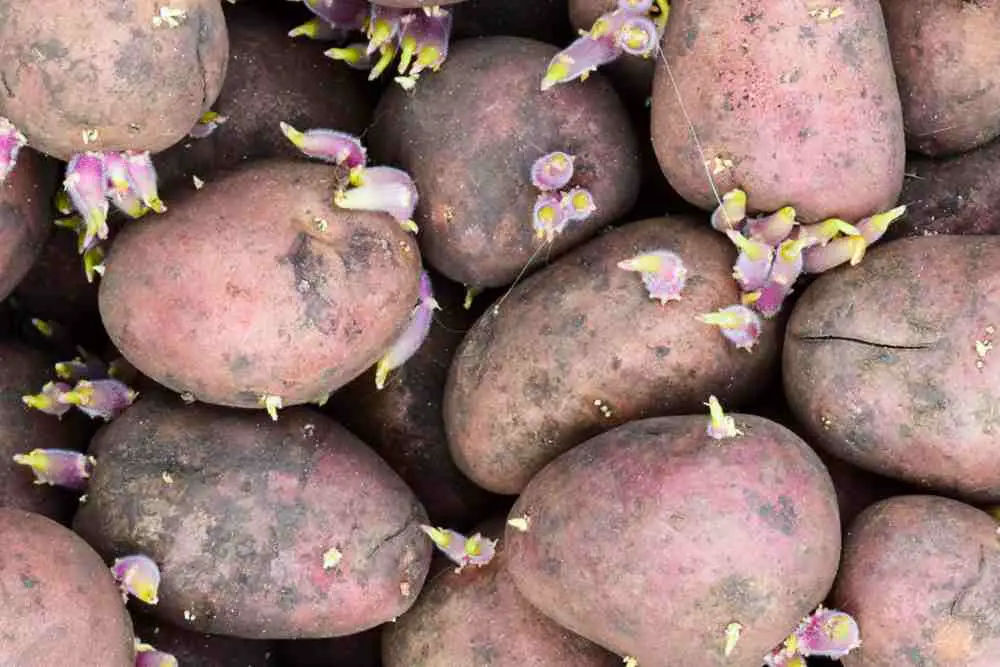
Start with organic, free-seed potatoes obtained from a catalog or farm store. If you buy from a farm store, try to pick tubers that have already sprouted. If not, pre-sprout it by simply laying it out on your kitchen counter.
Step 2 – Eyes To Separate
We need to choose potatoes, not big ones but small golf balled size potatoes should be planted whole. Cut as many pipes as possible. Cut them as each side has one, two, or three “eyes”, as we can say the reason for cutting the potato is because the many eyes of a large potato will make a large, multi-plant, with each stem competing for food and moisture, and in the end, bringing in very few potatoes.
Step 3 – Covering The Cut Pieces
Next, “cure” the cut pieces. Either place them in the sun or place them on a table or counter in a warm (about 70 ° F), a moderate incubator for three to five days.
Step 4 – Planting Seeds
These plant seed potatoes should be planted upside-down means eyes up in the segments. The hole should be 6-inch-deep. Place each piece 12 inches apart on all sides.
Between each portion, sprinkle 2 tablespoons of low-nitrogen, high-phosphorous fertilizer. Then cover the same potatoes with 2-inch compost soil, and water the soil well. When you need to plant potatoes should depend on where you live.
Step 5 – Making Hills Around Plants
Because new potatoes are formed on lateral stems, or “stolon’s” at the height of the seed potato, the grapes need to be “stacked”. If the green sprouts reach 8 inches in height, bury all but their 4-inch tops with soil, chopped straw, or crushed leaves. Hill again when the potato plants grow another 8 inches.
These potato tubes act like vampires they need to live in darkness after they will turn green if exposed to light.
Step 6 – Harvest Potatoes
As we mentioned above potatoes can easily grow. And after two weeks vines have flowered you can harvest the potatoes. If not wait until the vines die back. Dead grapes indicate that the tubers have reached maturity.
Now reach the ground with your hands and pull out the tubers. Dig a test hill to see how mature the potatoes are. If the skins are thin and easy to rub, your potatoes are still fresh and should be left in the ground for a few more days.
Potatoes Pest And Diseases
Potato, (Solanum tuberosum ) is an herbaceous perennial plant, that belongs to the family Solanaceae. Potatoes are edible tuber crops. They are available worldwide and all year long. Potatoes are relatively cheap to grow. They are rich in nutrients, and also they can make a delicious treat. The potato plant has a branched stem and leaves consisting of leaflets that are both of unequal size and shape.
Leaves are oval to oblong in shape and they can reach 10–30 cm in length and 5–15 cm wide. The potato tubers grow underground. They are generally located in the top 25 cm of the soil. Depending on the variety potato tubers can range in color from yellow to red or purple. These plants can reach more than 1 m in height.
Many pests and diseases affect potato tubers. Therefore when you through your potato harvest each year, take a moment to check for disease symptoms. Proper identification will help you decide and will give you a better idea of which diseases are present in your fields. Improved cultural practices and resistant potato varieties can reduce or eliminate many common pests and diseases.
Potato Pests

Colorado Potato Beetle (Leptinotarsa decemlineata)
This is a serious pest with strong resistance to insecticides. The pink blob-like larvae can eat enormous amounts of potato leaves while growing into bigger pink blobs. Crop rotation is an effective method because Colorado potato beetles overwinter as an adult in the soil. When they emerge they have to walk around searching for a potato plant. They can have 1-3 generations a year.
A significant portion of the summer generation beetle adults go directly into the soil and become dormant. They lay eggs in clusters of 20 or more. These beetles look like ladybug eggs but are a stronger orange color. The beetle can go from egg to adult in 21 days. There are four larval instars, with 75% of the total foliage destruction caused by the final and fattest instar.
Cyst Nematodes (Globodera pallida and G. rostochiensis)
This is a serious soil pest in temperate regions, the Andes, and other highland areas.
Potato Leafhoppers
Leafhoppers can cause leaves to shrivel and die. The initial effects of them are reversible if leafhoppers are controlled before leaf tissue is destroyed. These destroyed leaf tissues are known as “hopper burn”. Hopperburn affects photosynthesis and growth by reducing the green leaf area.
The most vulnerable stage of leafhopper damage is when the tubers are bulking up. They can also transmit diseases. Trichogramma wasps parasitize leafhopper eggs. To control hoppers spray garlic with insecticidal soap, early in the morning, especially on the undersides of the leaves.
Potato Tuber Moth (Phthorimaea operculella)
This is the most damaging pest of planted and stored potatoes in warm, dry areas.
Blister Beetles
They can cause trouble later in the season, skeletonizing leaves and spreading wilt. Blister beetle contains cantharidin, which can cause blisters on the skin of unwary workers. Blister beetles can be trapped in crops of chard next to potatoes.
The blister beetles are easier to see and catch in the trap crops than in potato foliage. If there aren’t too many beetles it may be worth putting up with them, as their larvae are carnivorous and eat grasshopper eggs.
Leafminer Fly (Liriomyza huidobrensis)
Flies are South American native pests common in areas where insecticides are used intensively.
Potato Diseases

Late Blight
Late blight is the most serious potato disease worldwide, and is caused by a water mould, called Phytophthora infestans. They destroy leaves, stems, and tubers. Late blight starts its symptoms as “water-soaked” spots on the leaves.
Then these areas expand into gray-black “scorched” areas sometimes with dotted white mold growth, especially on the underside of the leaves. Cut stems show a dark circle of infected tissue.
Late blight spreads rapidly, turning plants black, as if badly frosted. Late blight can kill an entire planting in ten days unless stopped by hot dry weather. The best defense is to always remove volunteer nightshades from your fields.
Compost or bury all crop debris. If Late Blight occurs late enough in the season, save your crop by mowing off the foliage, raking it off and disposing of it, and leaving the field untouched for two weeks before harvesting whatever potatoes have grown. These practices prevent the spores from getting into the soil and infecting the tubers.
Early Blight (Alternaria solani)
Early blight is a common fungal disease. It usually affects potato foliage. Symptoms start as small brown spots on the lower leaves, which conglomerate into brown blotches that are restricted by the leaf veins, so they can be angular in shape.
The lesions have a bullseye appearance – that means concentric circles with a yellow halo around each one. Tuber lesions are sunken, dark in color, and circular often bordered by purple to gray raised tissue.
The underlying flesh is dry, brown, and leathery. Lesions size can increase during storage and tubers become shriveled. The disease is seed-borne, soil-borne, and airborne. They survive on plant debris and nightshade weeds.
The appearance of early blight symptoms can be reduced by supplying sufficient water, growing strong healthy plants, and spraying with compost teas. The beneficial fungus Trichoderma harzianum can give good results to control this disease.
Bacterial Wilt
This is caused by the bacterial pathogen. It leads to severe losses in tropical, subtropical, and temperate regions.
Pink Rot (Phytophthora erythroseptica) and Pythium Leak (Pythium spp.)
Pink rot disease starts at the stolon end and then results in discolored and rotten periderm with a clear delineation between diseased and healthy tissue. Tuber flesh turns pink. Then brown-black, when exposed to air.
Pythium spp. cause leak infections to invade tubers through harvest wounds. Then it continues to develop in transit and storage. Infections result in internal watery, brown, or gray rot with well-defined red-brown lines delineating healthy and diseased tissue.
Potato Blackleg
This is a bacterial infection. It causes tubers to rot in the ground and storage.
Another issue potato producers face is yellowing potato leaves. Potato plant leaves can turn yellow due to pests, diseases, fungal infections, lack of nutrients, too much water, too little sunlight, and other factors. Visit the article Potato Plant Leaves Turning Yellow to learn more.

Lilani graduated with a bachelor of agriculture, with a specialization in biotechnology from the Wayamba University of Sri Lanka, as well as she is following a Master’s in Molecular Life Sciences. She has a passion for writing and communicating about agriculture topics and loves enthusing people about the botanical world.
- 18 Creative Ideas for Stunning Garden Borders - April 16, 2024
- 19 Creative and Cheap Backyard Ideas: Transform Your Backyard on a Budget - April 11, 2024
- 15 Ingenious Kitchen Garden Ideas to Cultivate Freshness Right at Home - April 7, 2024